Setup SAML 2.0 with Microsoft Entra ID
This guide walks you through configuring SAML 2.0 single sign-on (SSO) between Microsoft Entra ID (formerly Azure Active Directory) and Anzenna, enabling secure authentication across both platforms.
Prerequisites
A role that can create and manage enterprise applications in Microsoft Entra ID (Cloud Application Administrator, Application Administrator, or Global Administrator)
- Admin access to your Anzenna account
- Your organization's Anzenna Domain ID
Step-by-Step Instructions
Step 1: Get Your Anzenna Domain ID
Navigate to Settings > Access > SAML
Toggle Enable SAML and locate the Domain ID
Copy this Domain ID - you'll need it for the Entra ID configuration
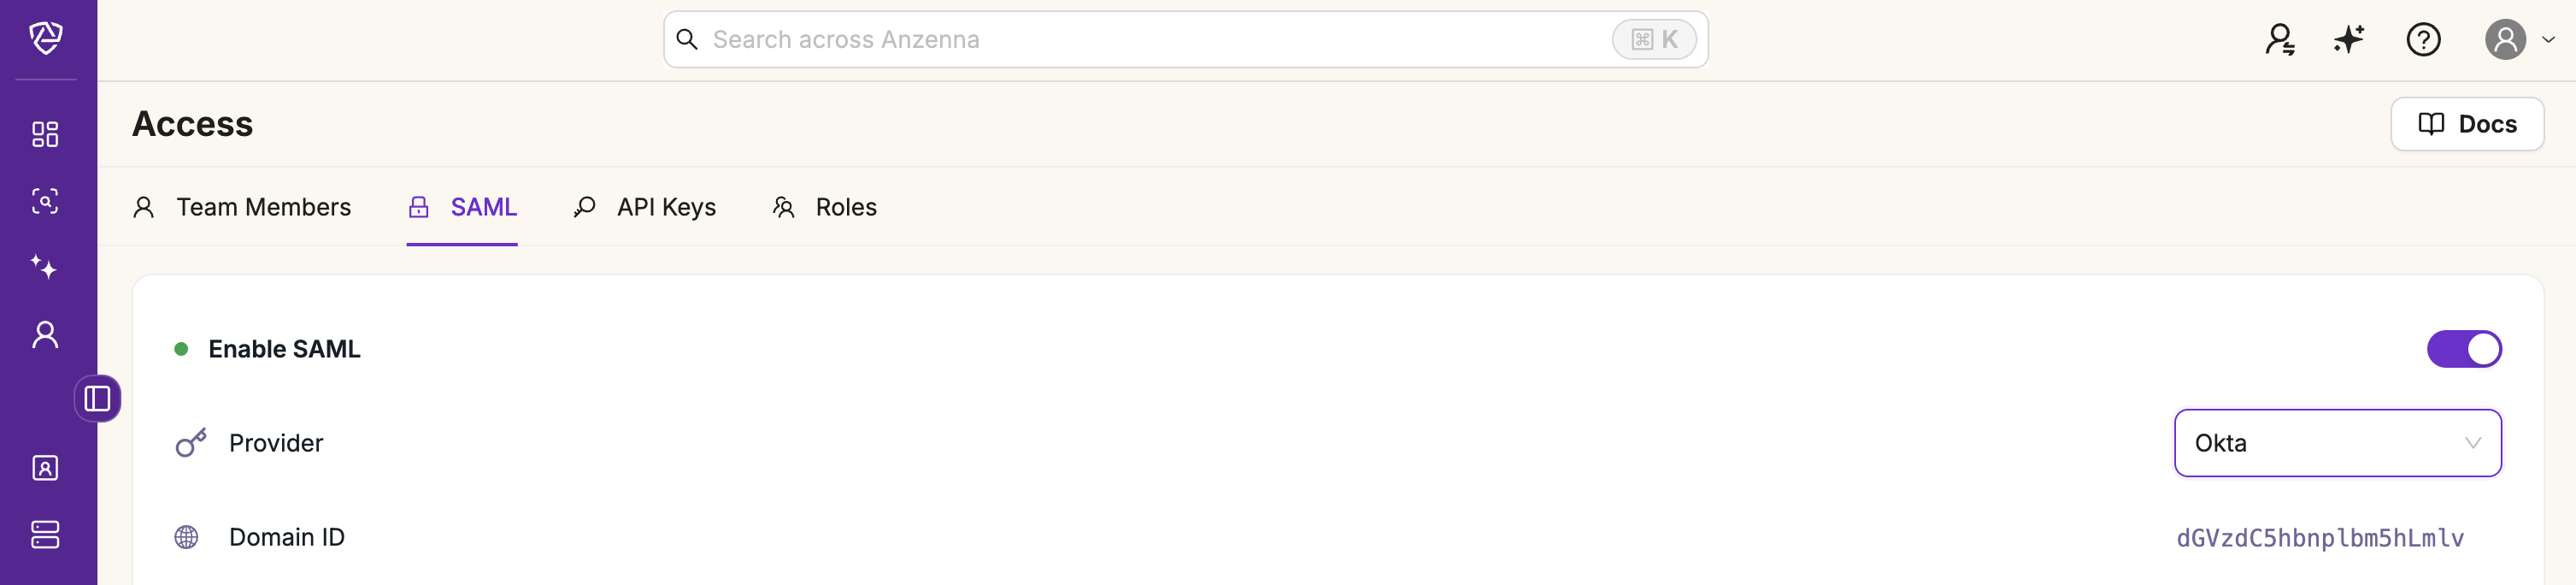
Keep this Domain ID handy in a text editor. You'll use it multiple times in the Entra ID configuration URLs.
Step 2: Create the Enterprise Application in Entra ID
Sign in to the
Microsoft Entra admin center
Go to Entra ID > Enterprise apps
Click New application, then Create your own application
Name the app "Anzenna" and select
Integrate any other application you don't find in the gallery (Non-gallery)
Click Create
Step 3: Configure SAML Single Sign-On
In your new application, open Single sign-on and select SAML
In the Basic SAML Configuration tile, click Edit
Configure the following fields, replacing
<domain-id> with your actual
Domain ID from Step 1:
| Field | Value |
|---|---|
| Identifier (Entity ID) | https://app.anzenna.ai/auth/saml/<domain-id>/metadata |
| Reply URL (Assertion Consumer Service URL) | https://app.anzenna.ai/auth/saml/<domain-id>/acs |
| Relay State (Optional) | https://app.anzenna.ai |
Make sure to replace
<domain-id> with your actual
Domain ID from Step 1. The URLs will not work with the placeholder text.
Click Save and close the Basic SAML Configuration panel.
Step 4: Verify Attributes & Claims
Anzenna expects the user's first name, last name, and email address. Entra ID emits these as default SAML claims, so in most tenants no change is needed — open the Attributes & Claims tile and confirm the following claims are present:
| Claim name | Value |
|---|---|
| user.givenname |
| user.surname |
| user.mail |
If your users' mail attribute isn't
populated in Entra ID, set the email claim to
user.userprincipalname instead so
Anzenna receives a valid email address. The
Unique User Identifier (Name ID) can remain the default (
user.userprincipalname).
Step 5: Copy the Federation Metadata URL
Scroll to the SAML Certificates tile
Copy the App Federation Metadata URL - it should look like:
Step 6: Assign Users
Entra ID only sends assertions for users who are assigned to the application.
In the application, open Users and groups
Click Add user/group and assign the users (or groups) who should sign in to Anzenna via SSO
Step 7: Connect Entra ID to Anzenna
Back in Anzenna, navigate to Settings > Access > SAML
Select Microsoft Entra ID (Azure AD) as the identity provider
Paste the App Federation Metadata URL from Step 5 into the IDP Metadata URL field
Click Save
Step 8: Test Your SAML Setup
Log out of Anzenna completely
Sign in again at
app.anzenna.ai/u/signin
using Enterprise SSO
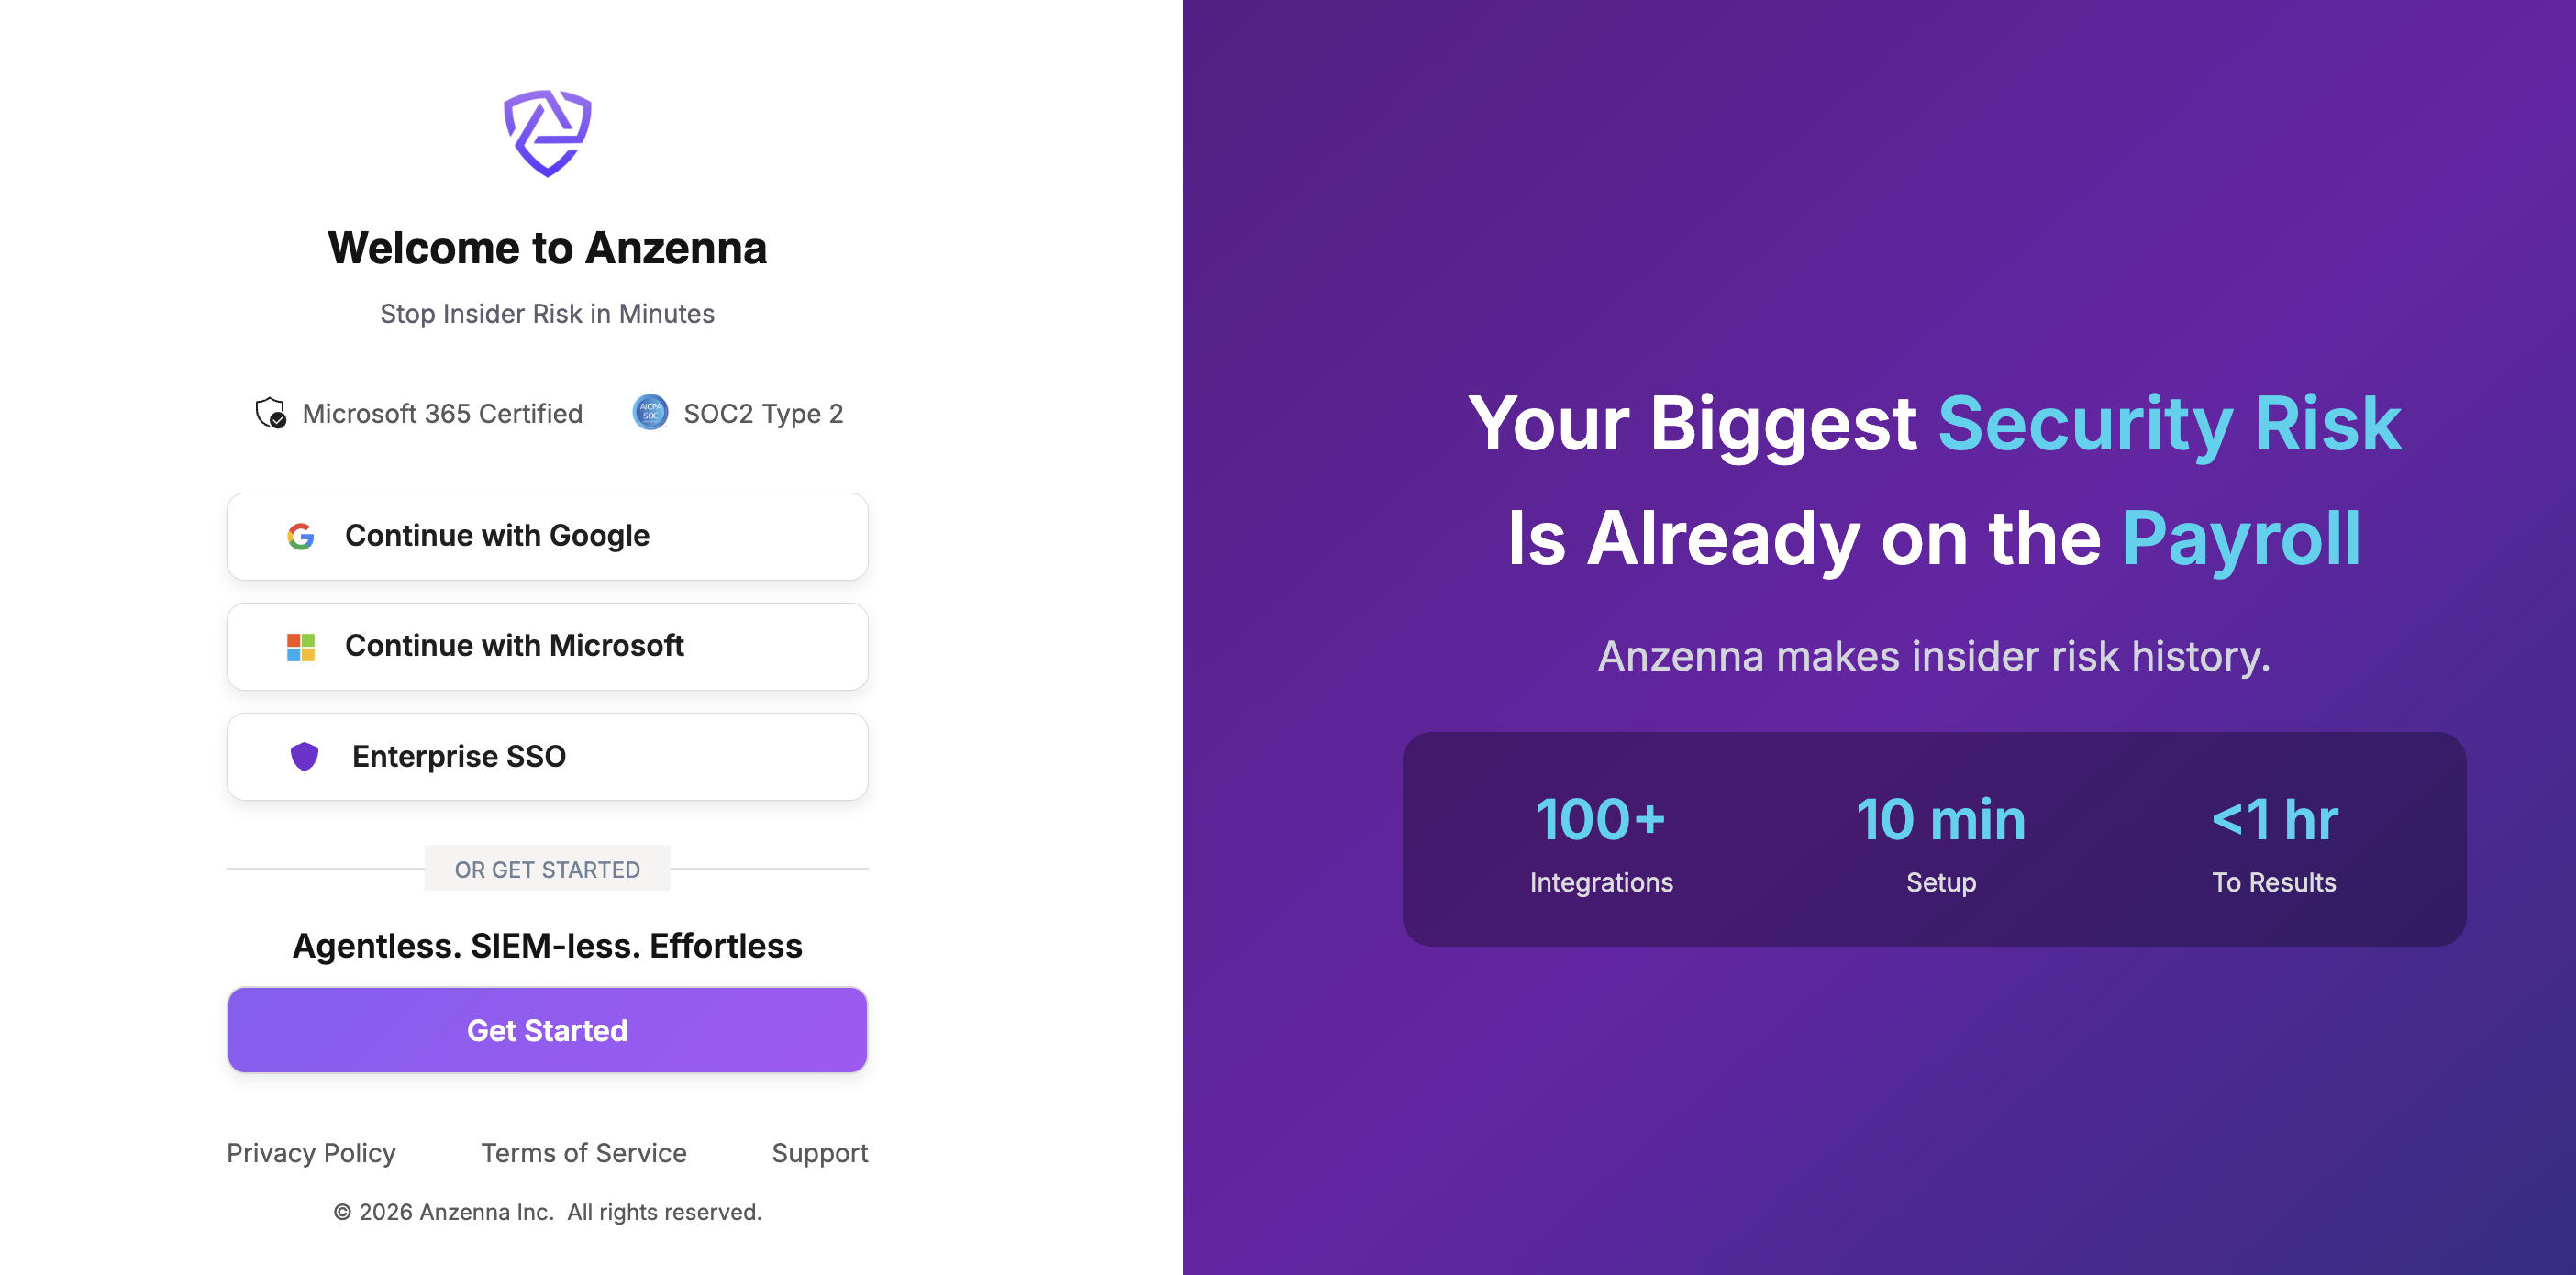
For the first test, use an account that is both assigned to the Entra ID application and exists in Anzenna, to verify the connection end to end.