Connect Okta to Anzenna
Integrate Anzenna with Okta to monitor users, groups, devices, applications, and sign-in activity across your organization.
Prerequisites
- Okta Super Administrator access
- Anzenna account
- Access to your Okta Admin Console
Step-by-Step Instructions
Part 1: Start in Anzenna
Go to app.anzenna.ai and click Sign in with Google
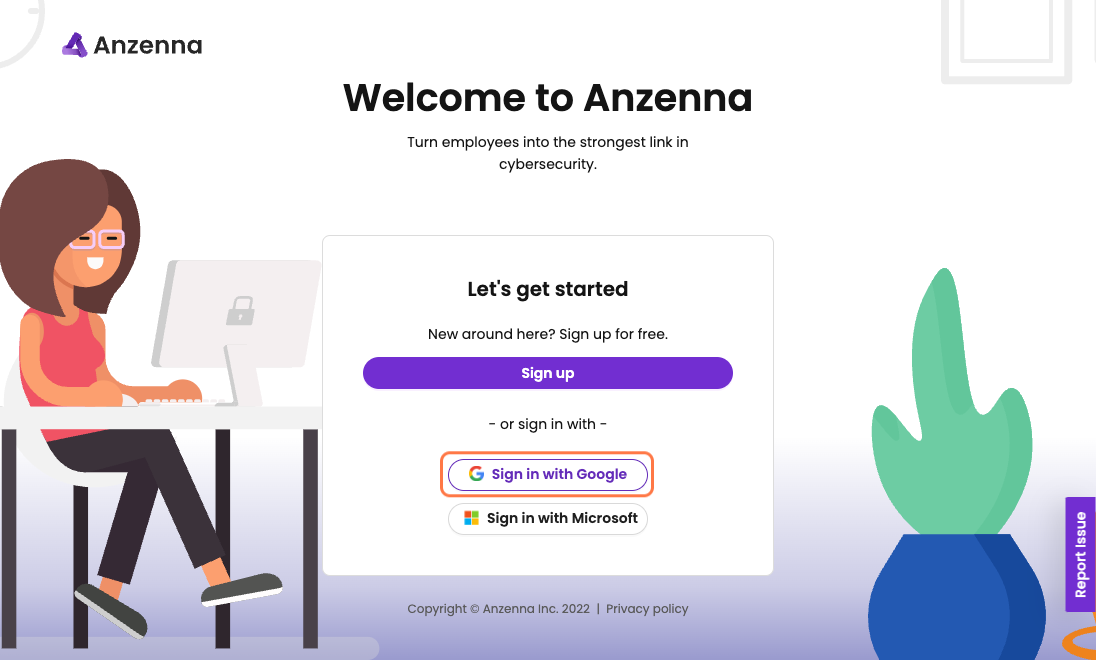
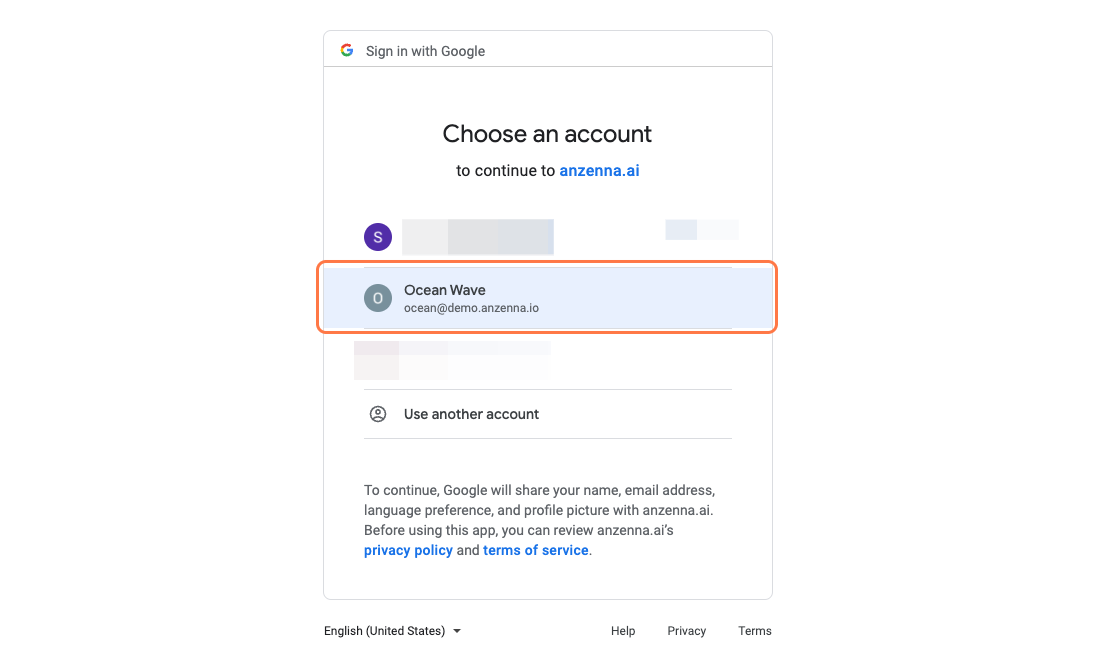
- Select your corporate Google account
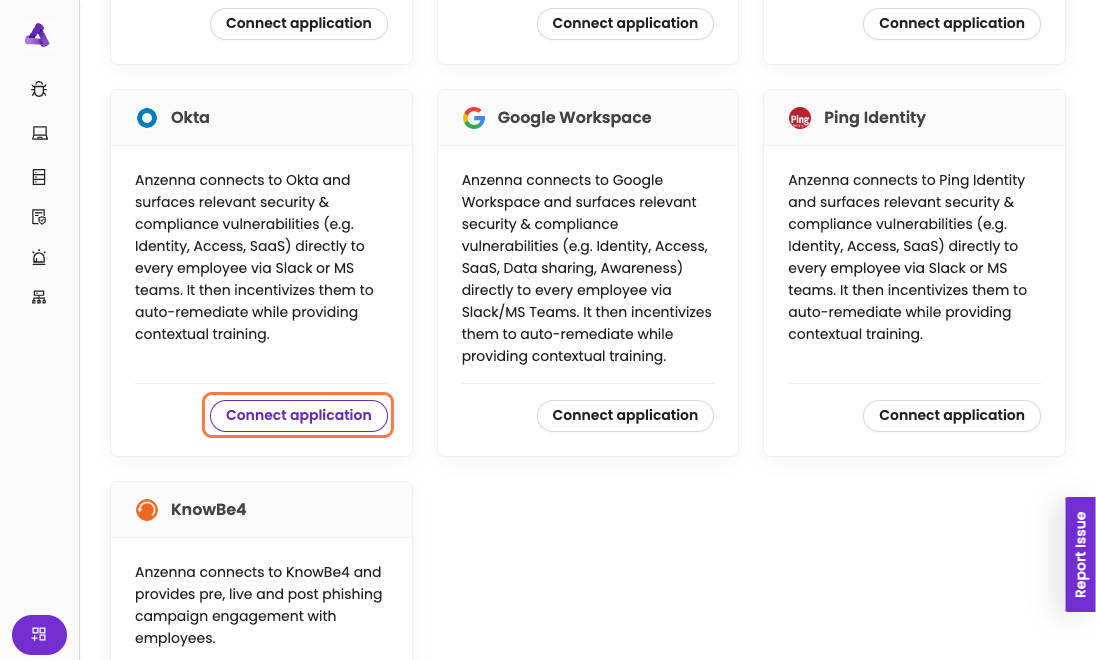
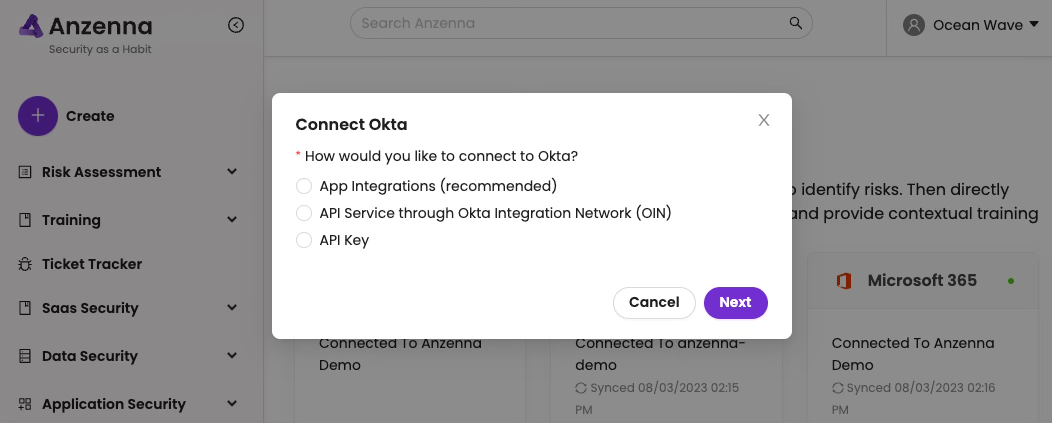
Click Connect application and choose App Integrations, then click Next
Copy the public key URL and keep this page open
Part 2: Create App Integration in Okta
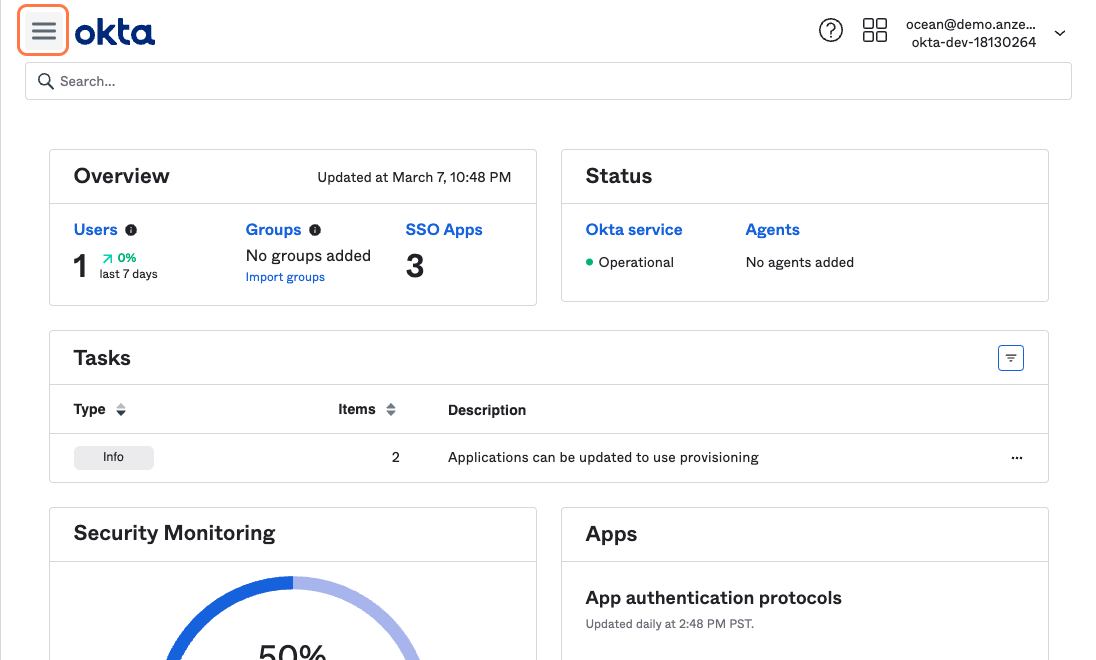
In a new tab, go to your Okta Admin interface (e.g.
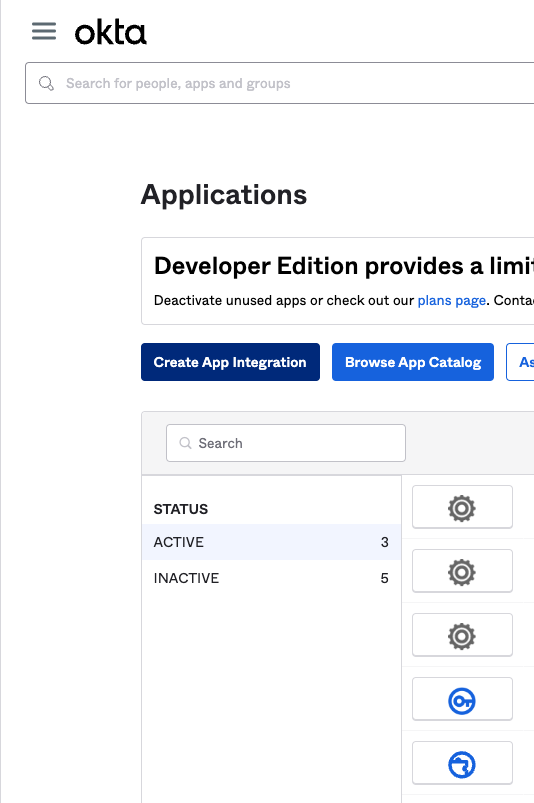
<domain>-admin.okta.com) and navigate to Applications
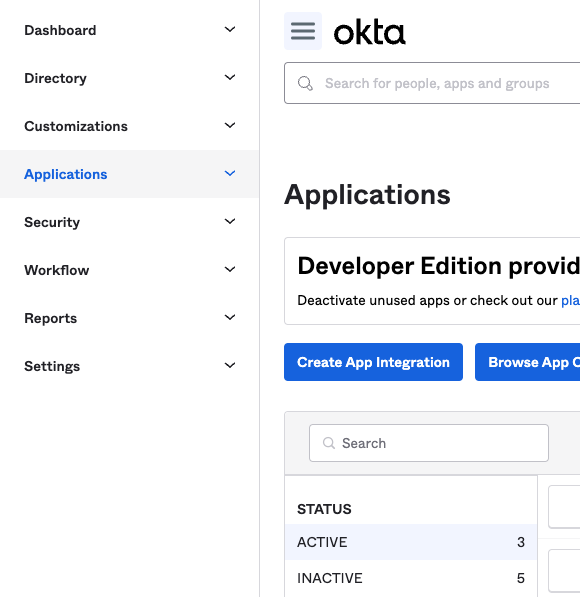
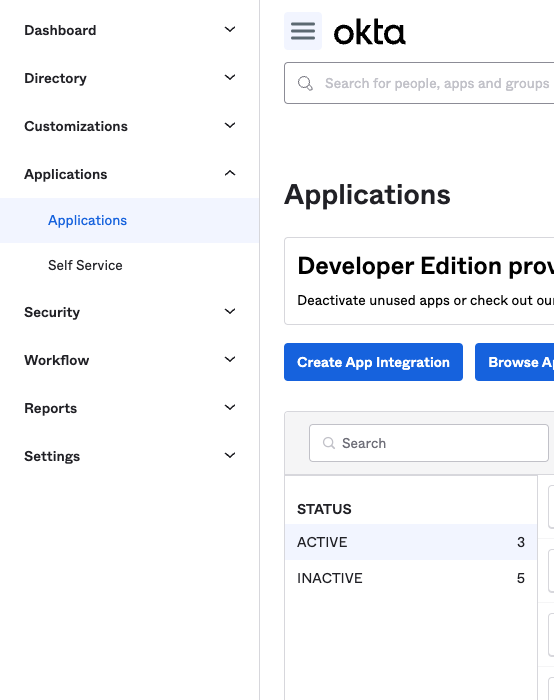
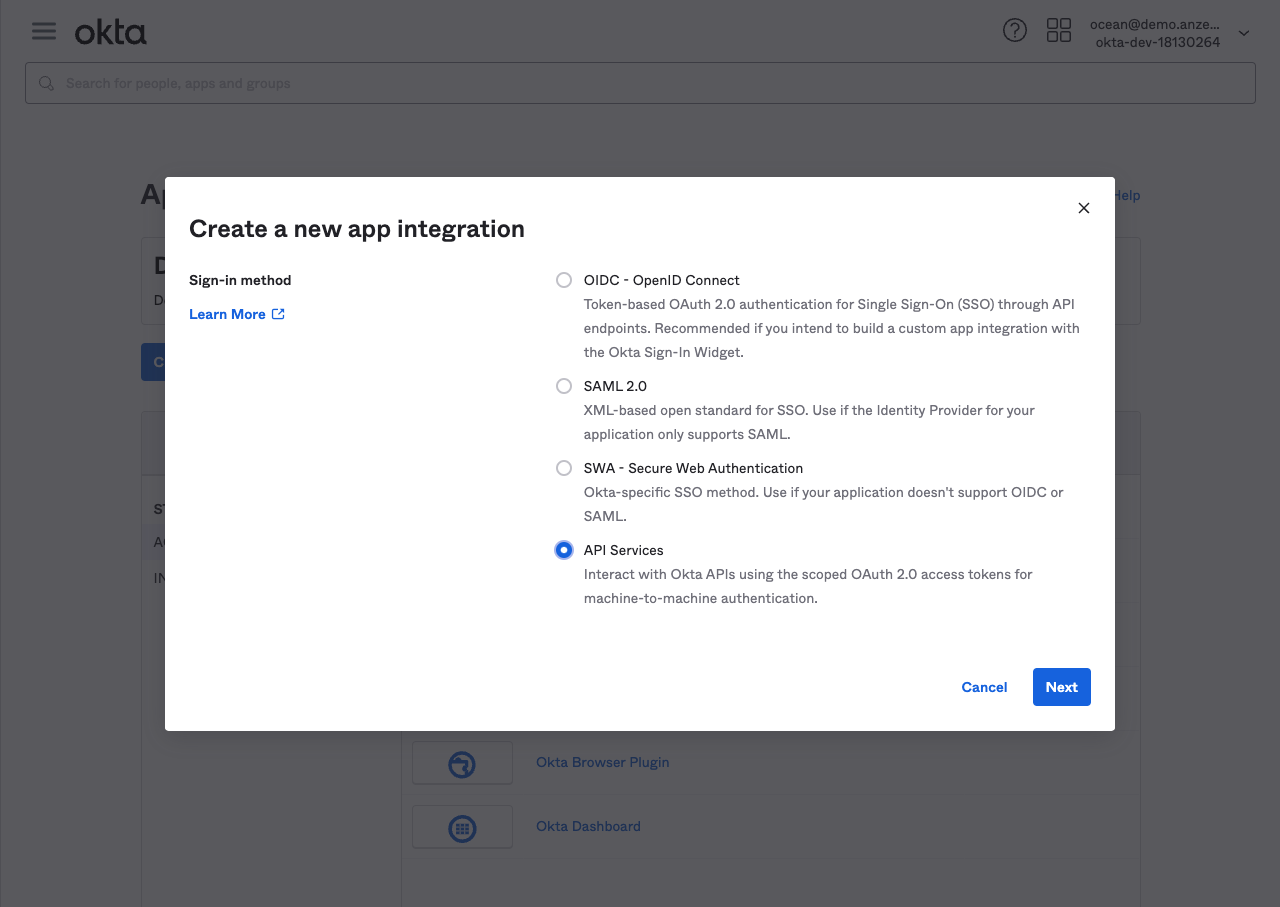
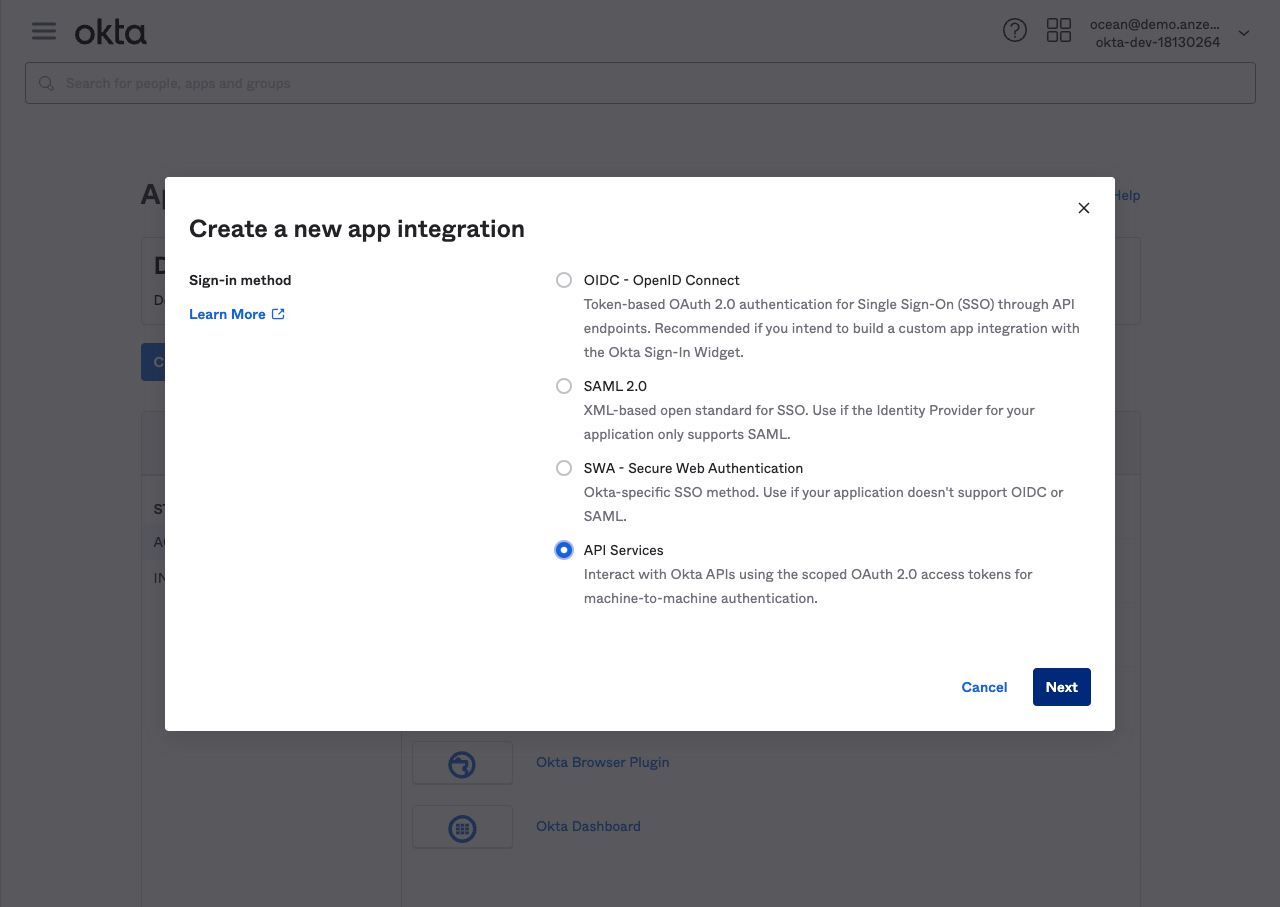
Click Create App Integration, select API Services, then click Next
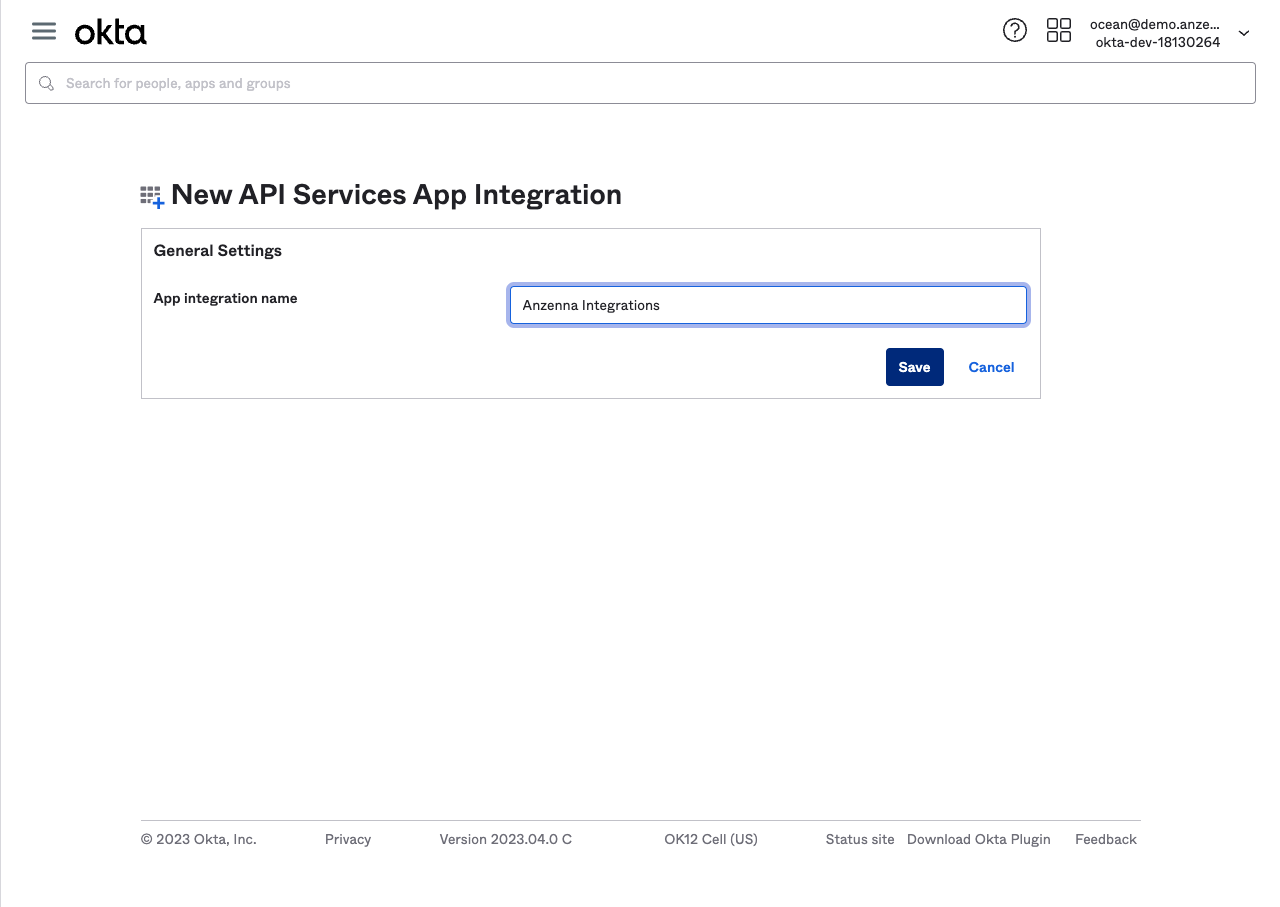
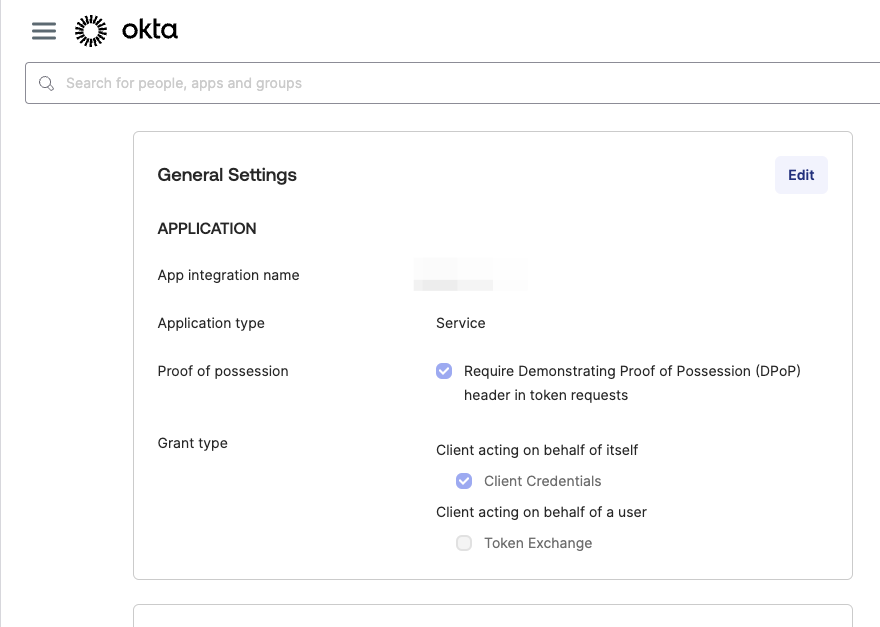
Type Anzenna Integrations as the name and click Save

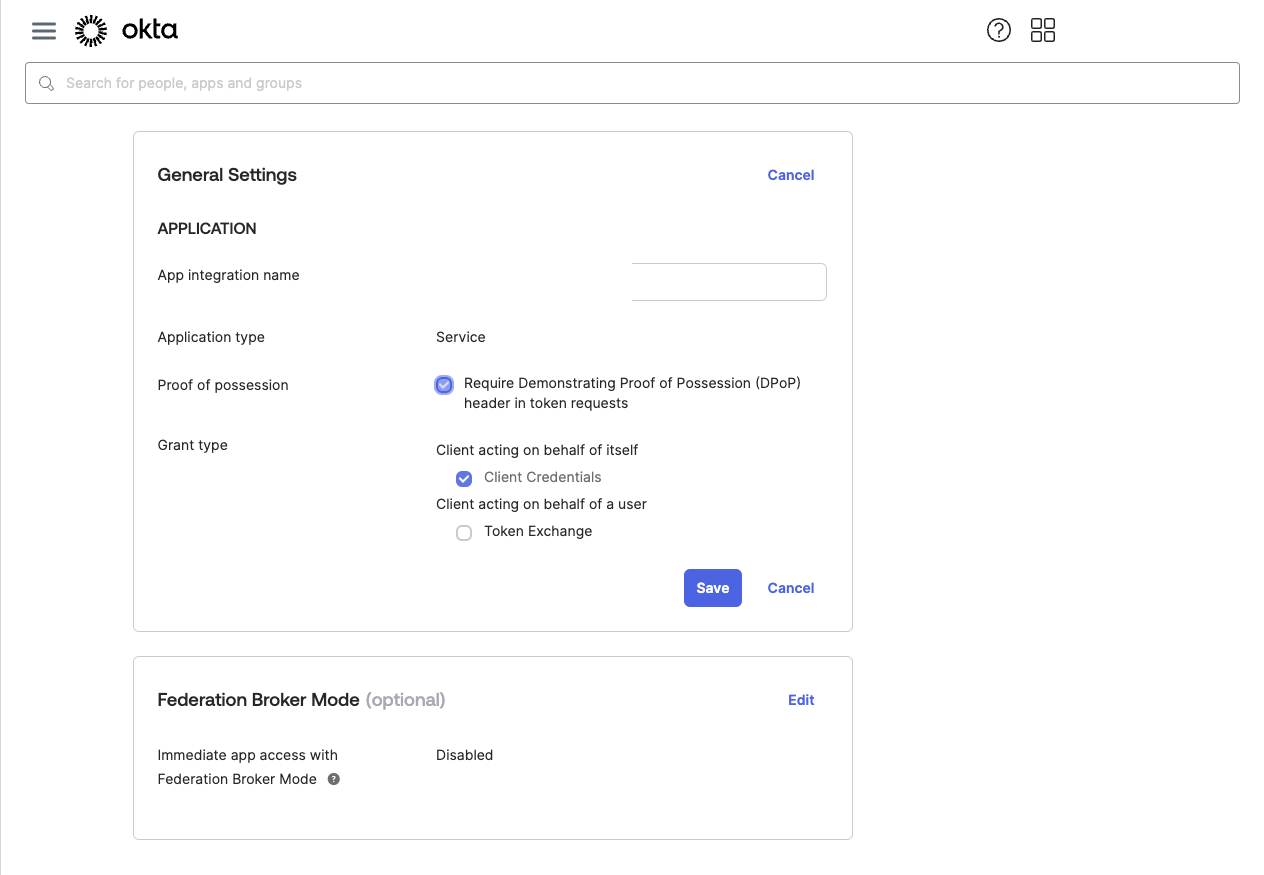
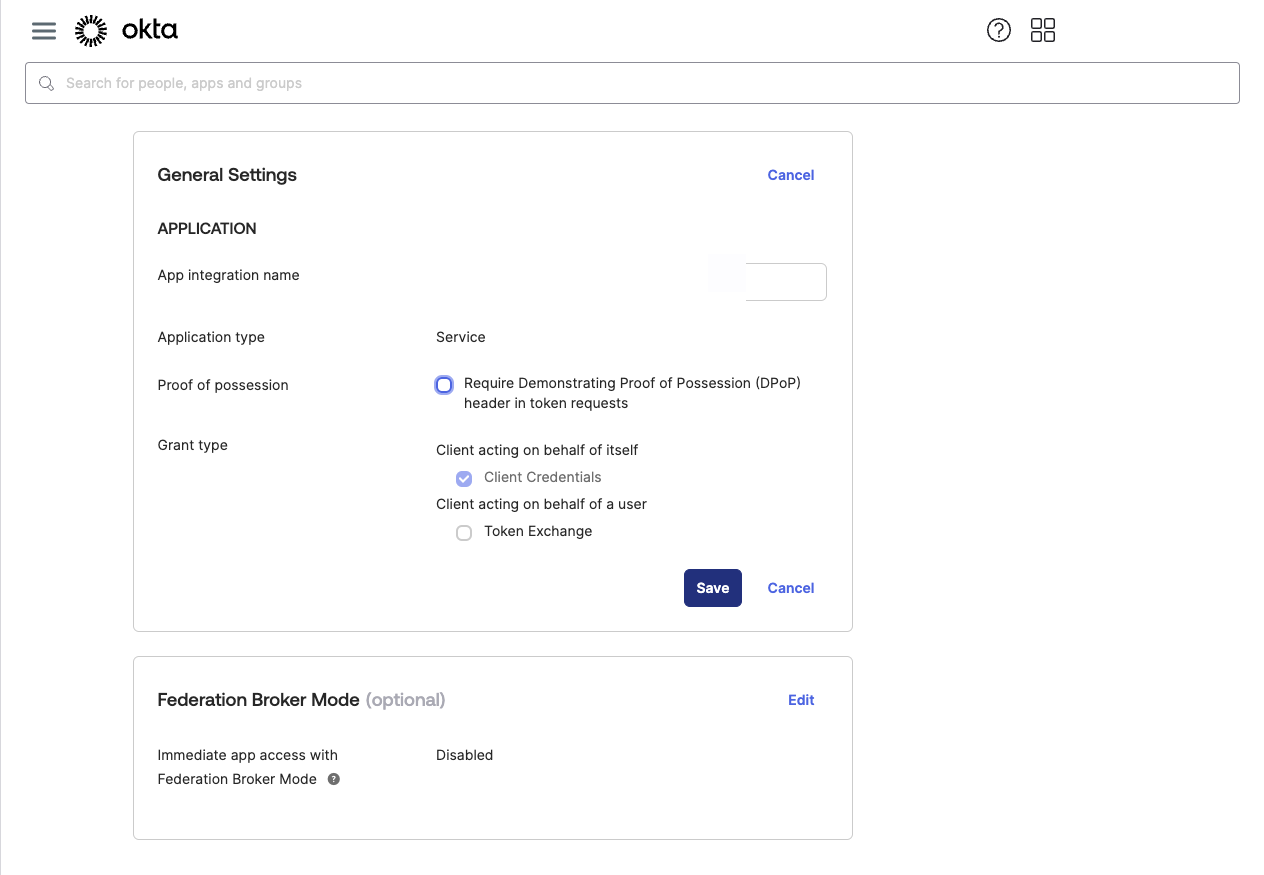
Click Edit in General Settings, uncheck Require DPoP header, then click Save
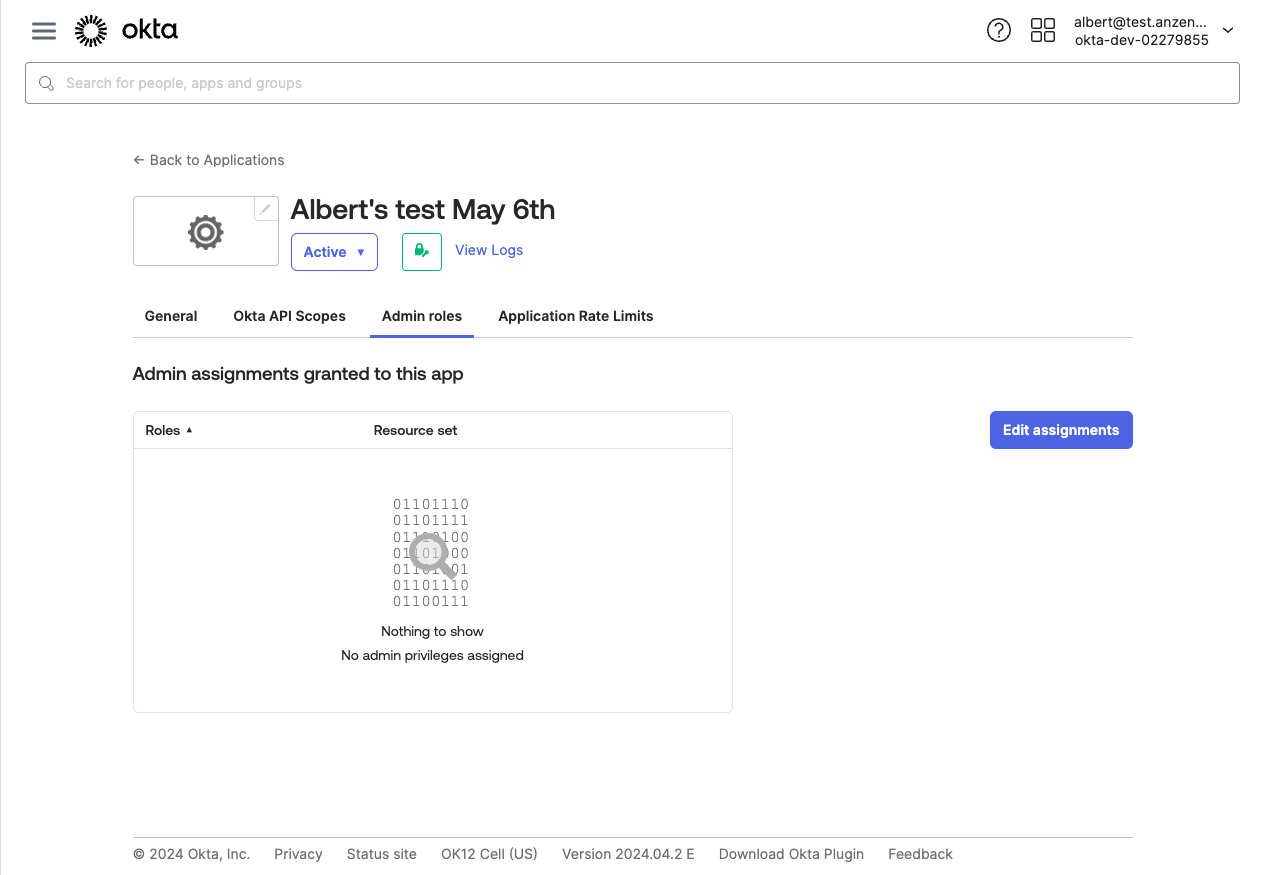
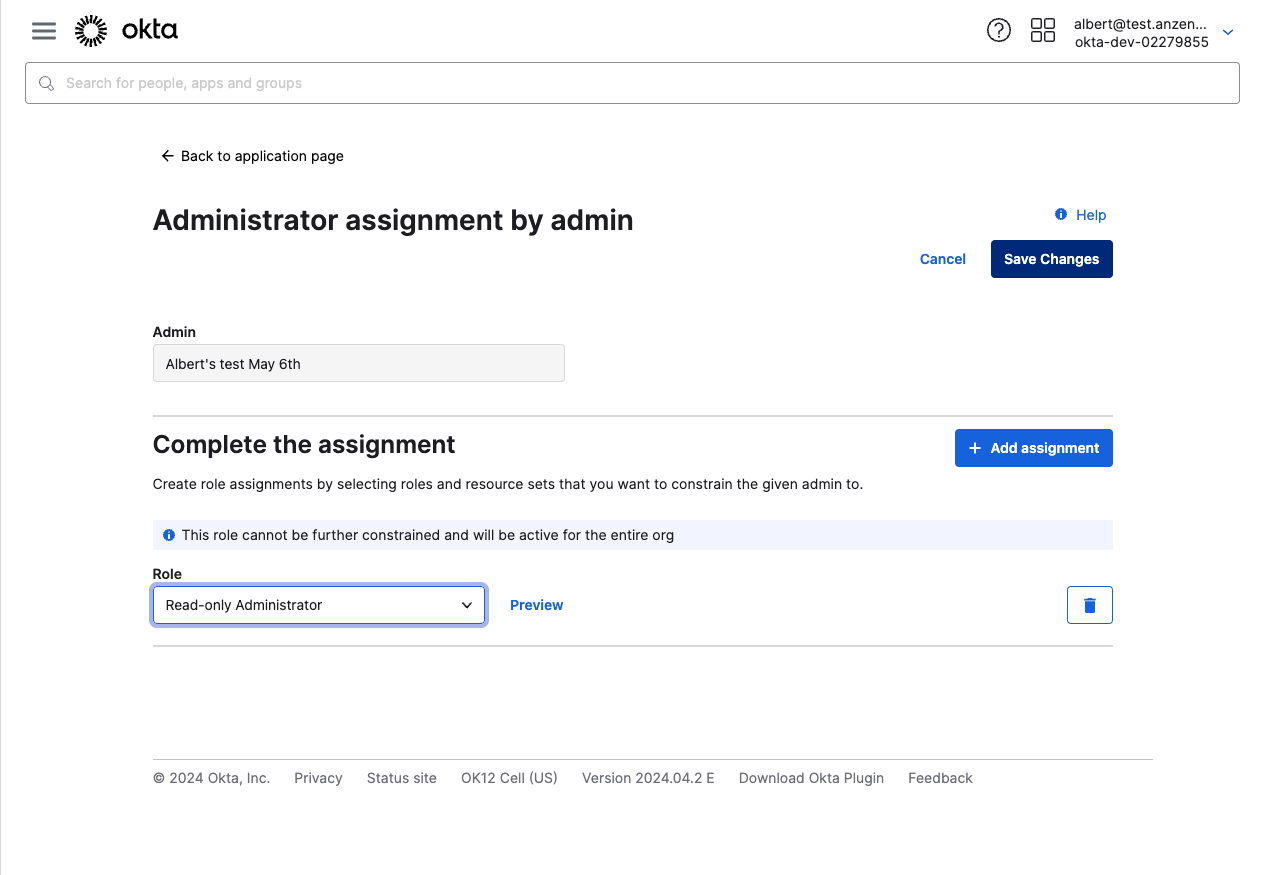
Part 3: Assign Admin Role
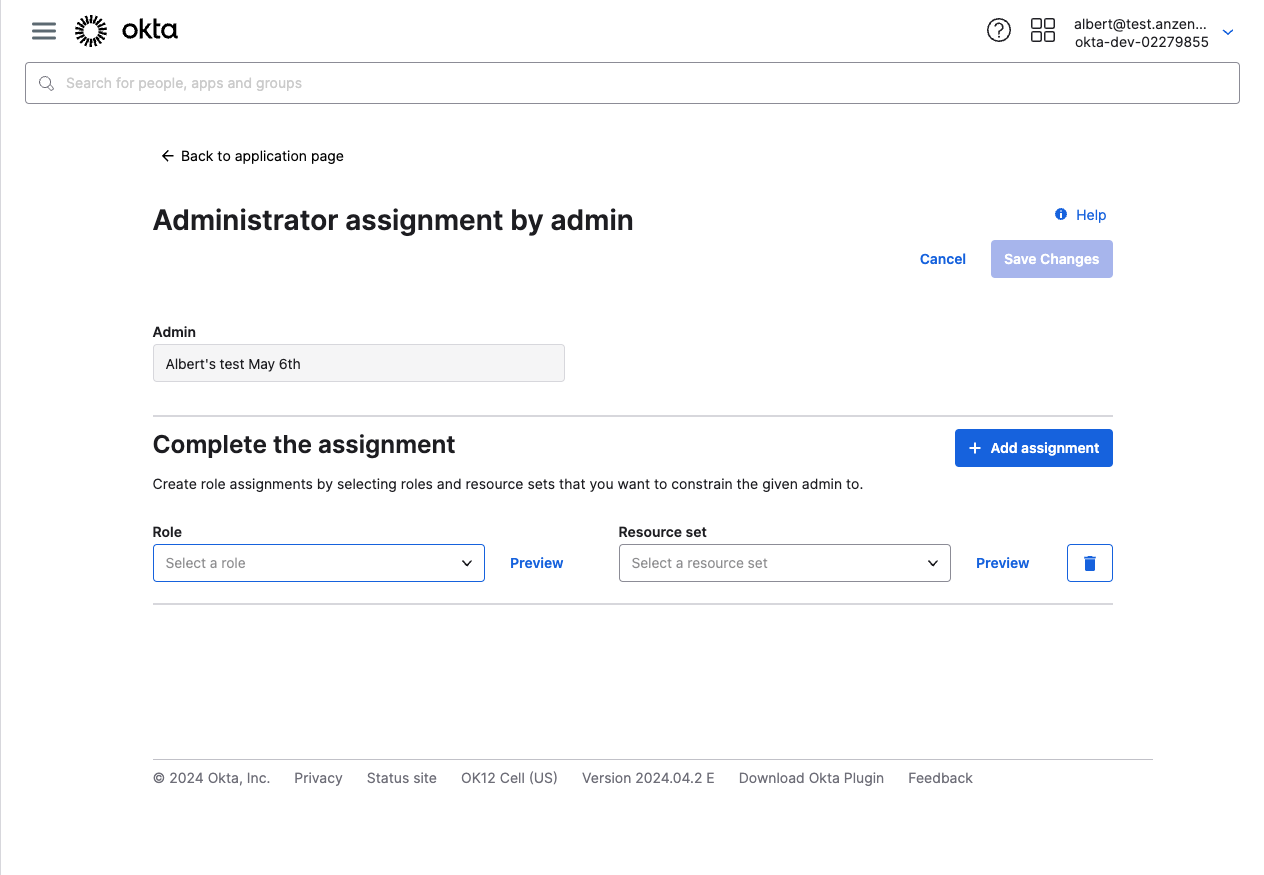
Click Admin roles, then Edit assignments
Click Select a role and choose Read-only Administrator
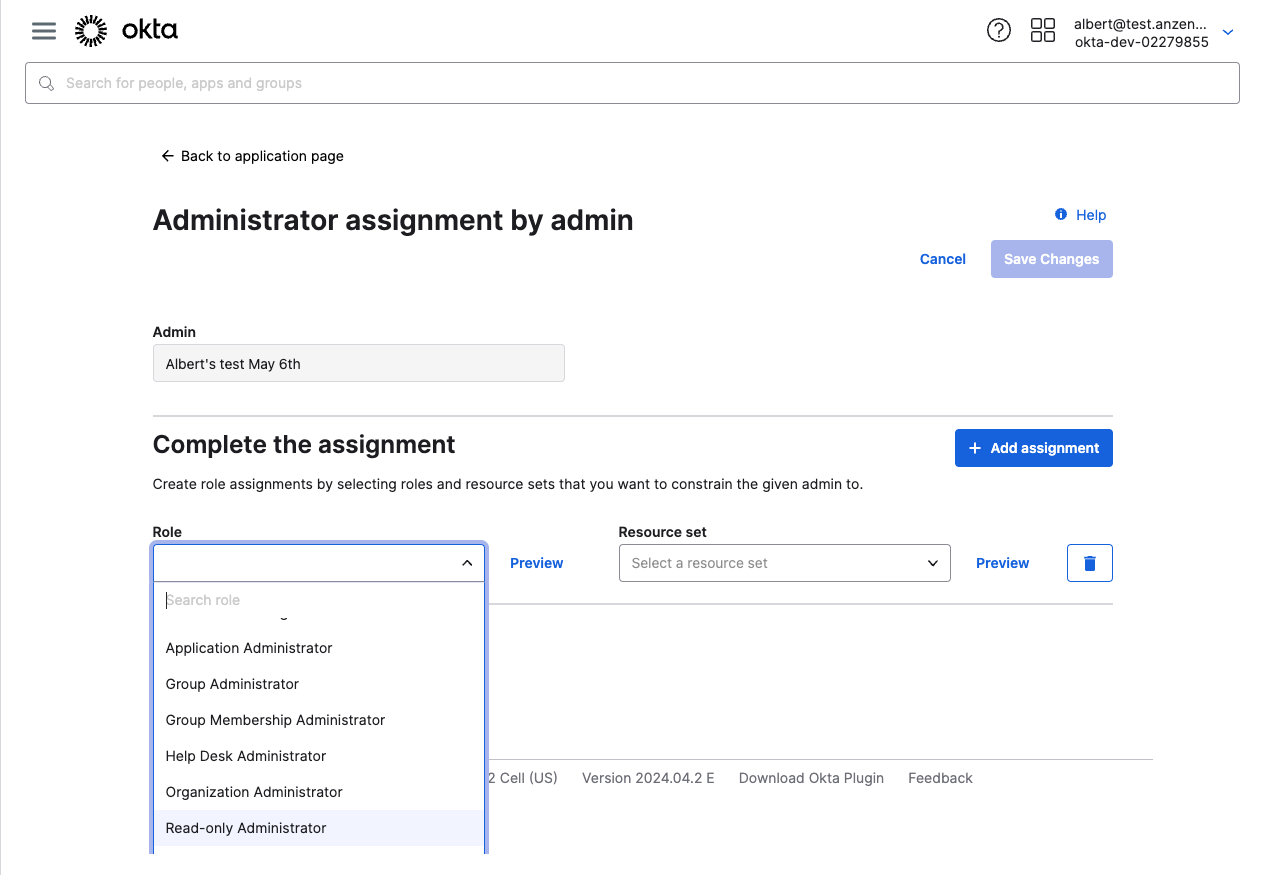
[Optional - for remediations] Also assign Organization Administrator
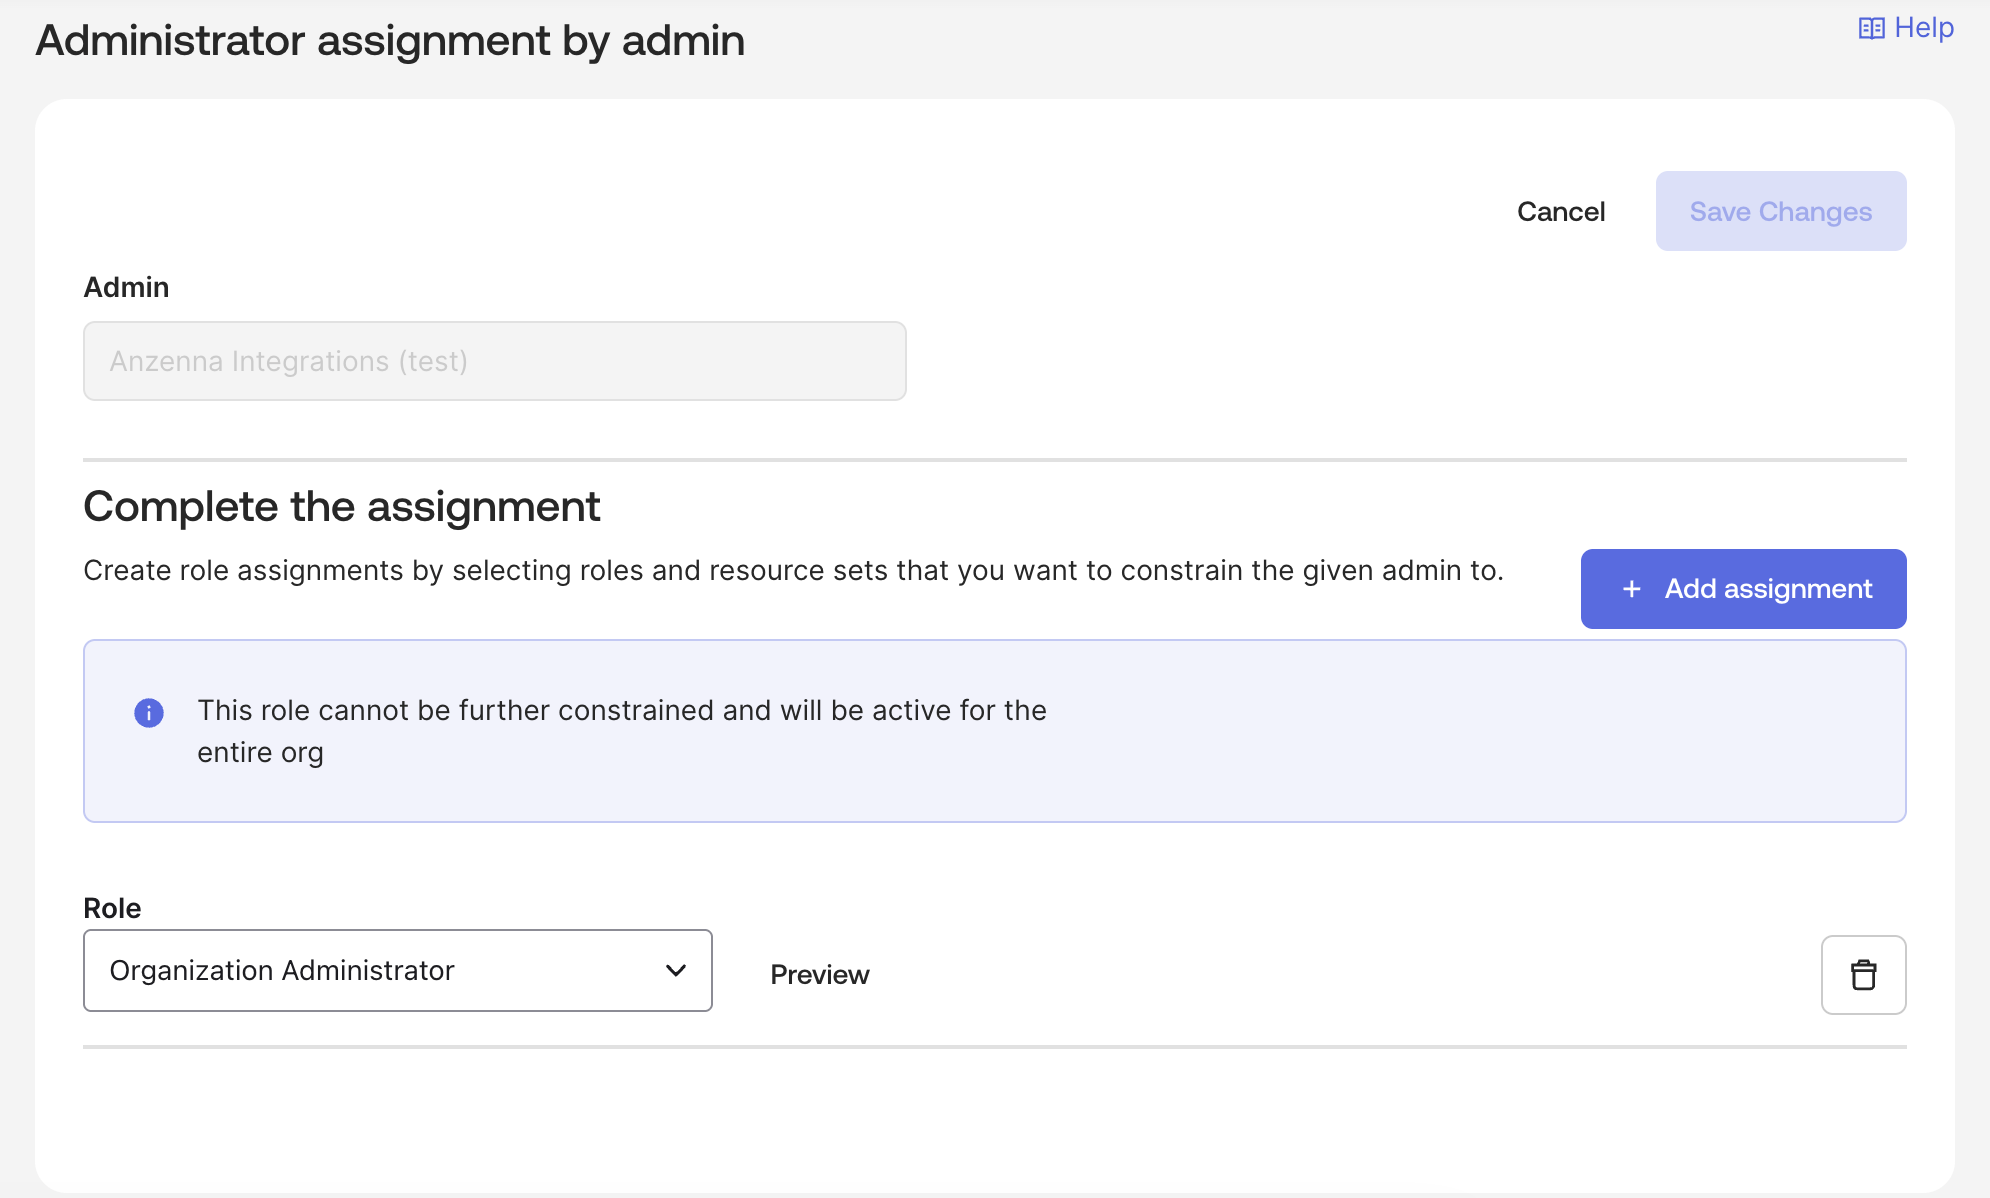
Click Save Changes
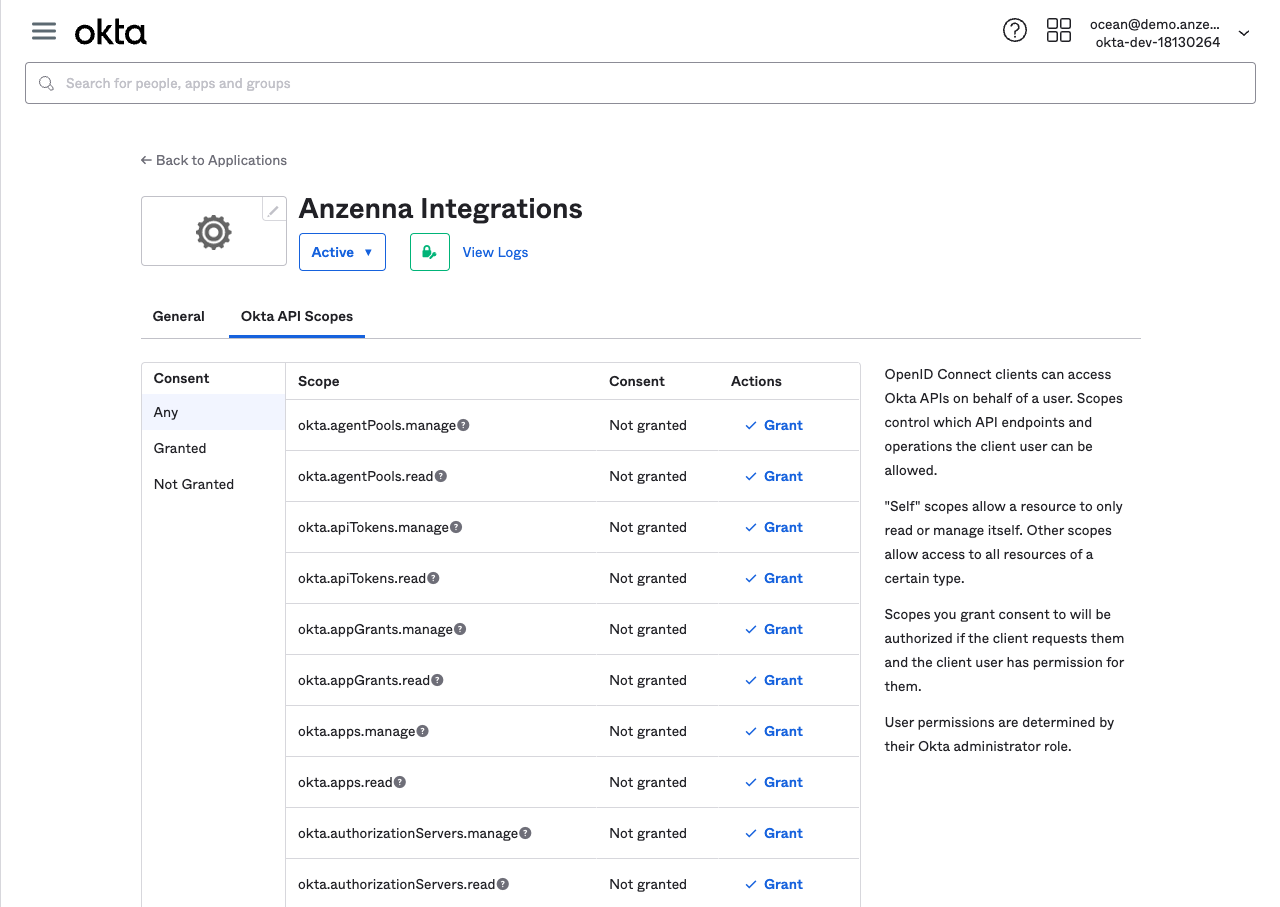
Part 4: Configure API Scopes
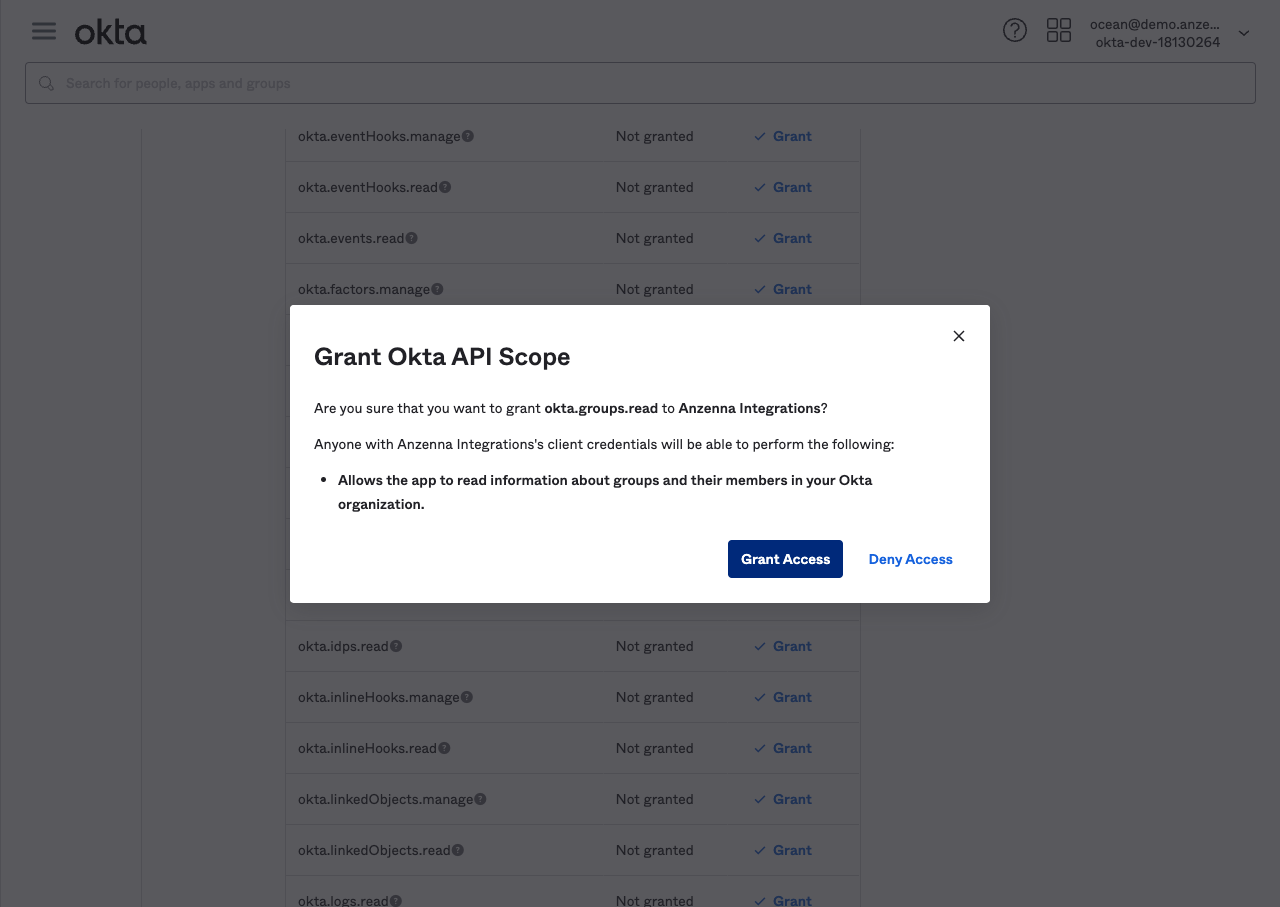
Click Okta API Scopes and grant the required scopes
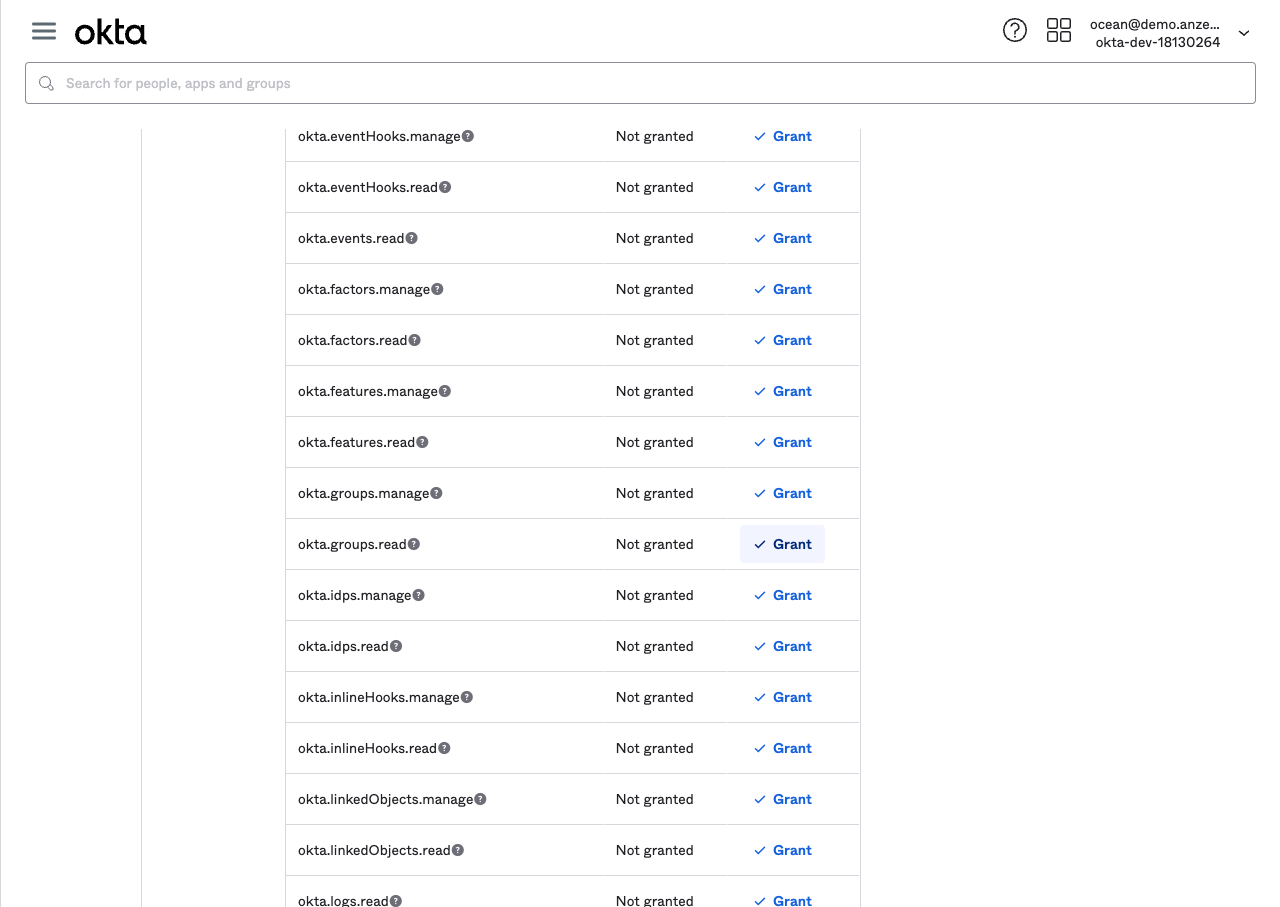
Grant access to: okta.devices.read, okta.logs.read, okta.users.read, okta.groups.read, okta.appGrants.read, okta.apps.read
For remediations also grant: okta.policies.read, okta.policies.manage, okta.groups.manage, okta.authenticators.read, okta.users.manage
Click Grant Access
Part 5: Configure Public Key Authentication
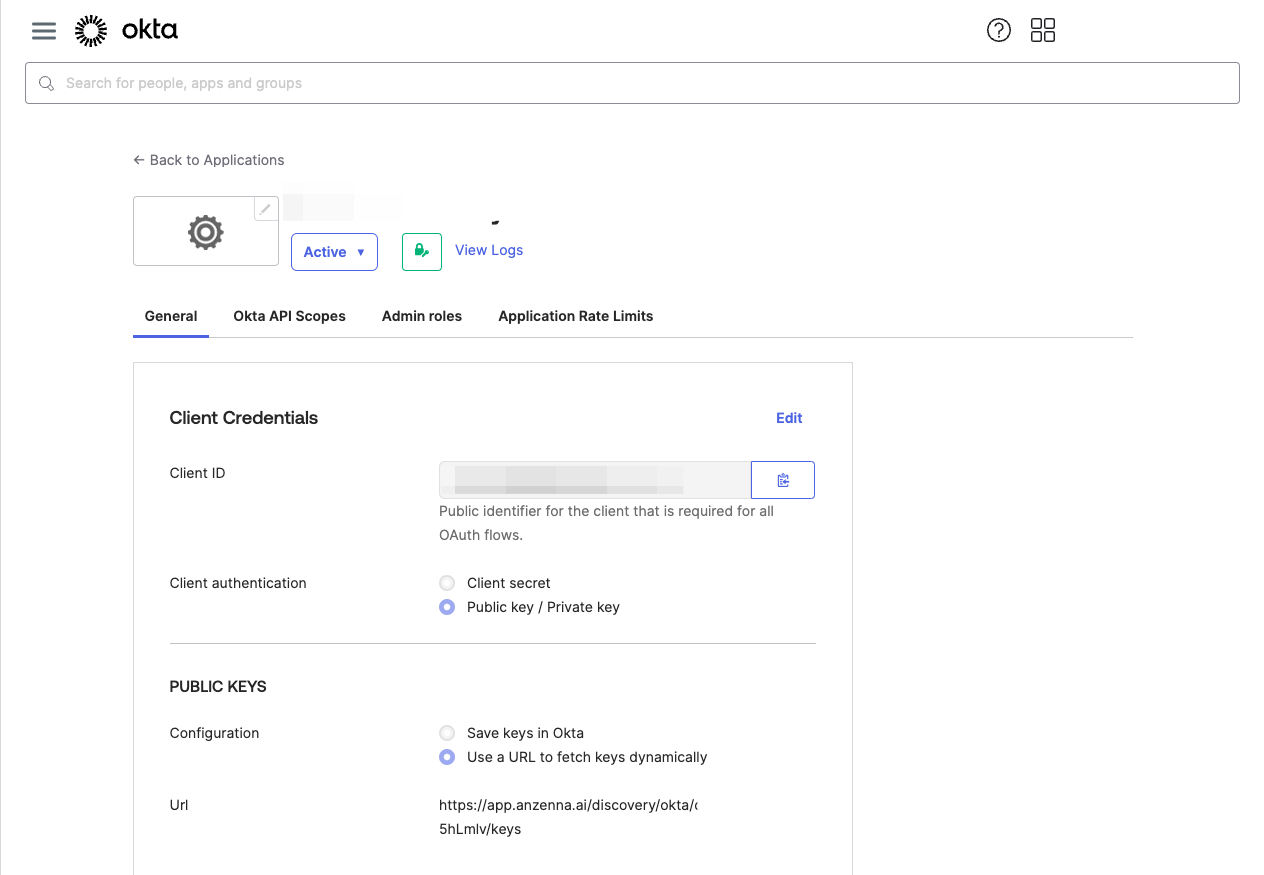
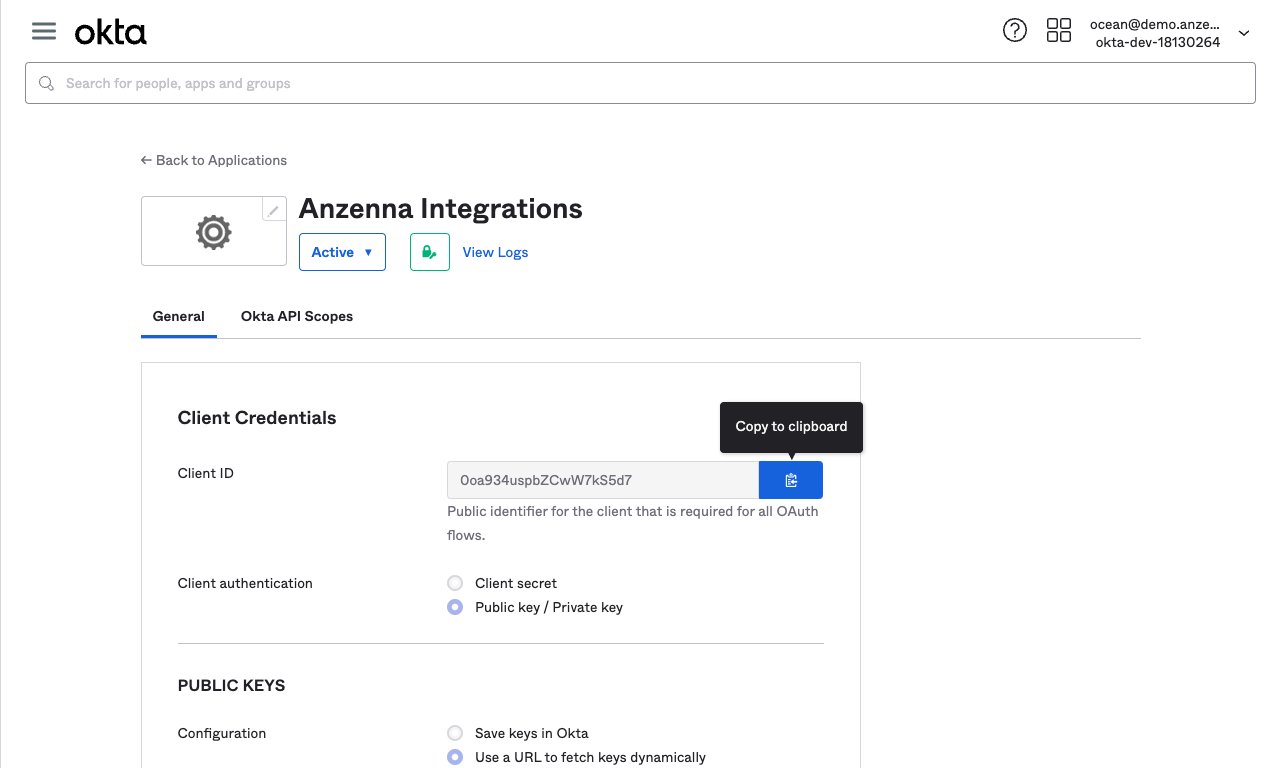
Go to the General tab and click Edit

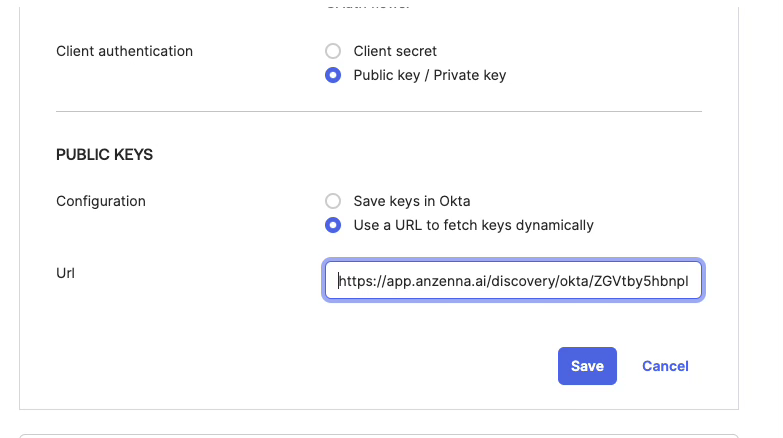
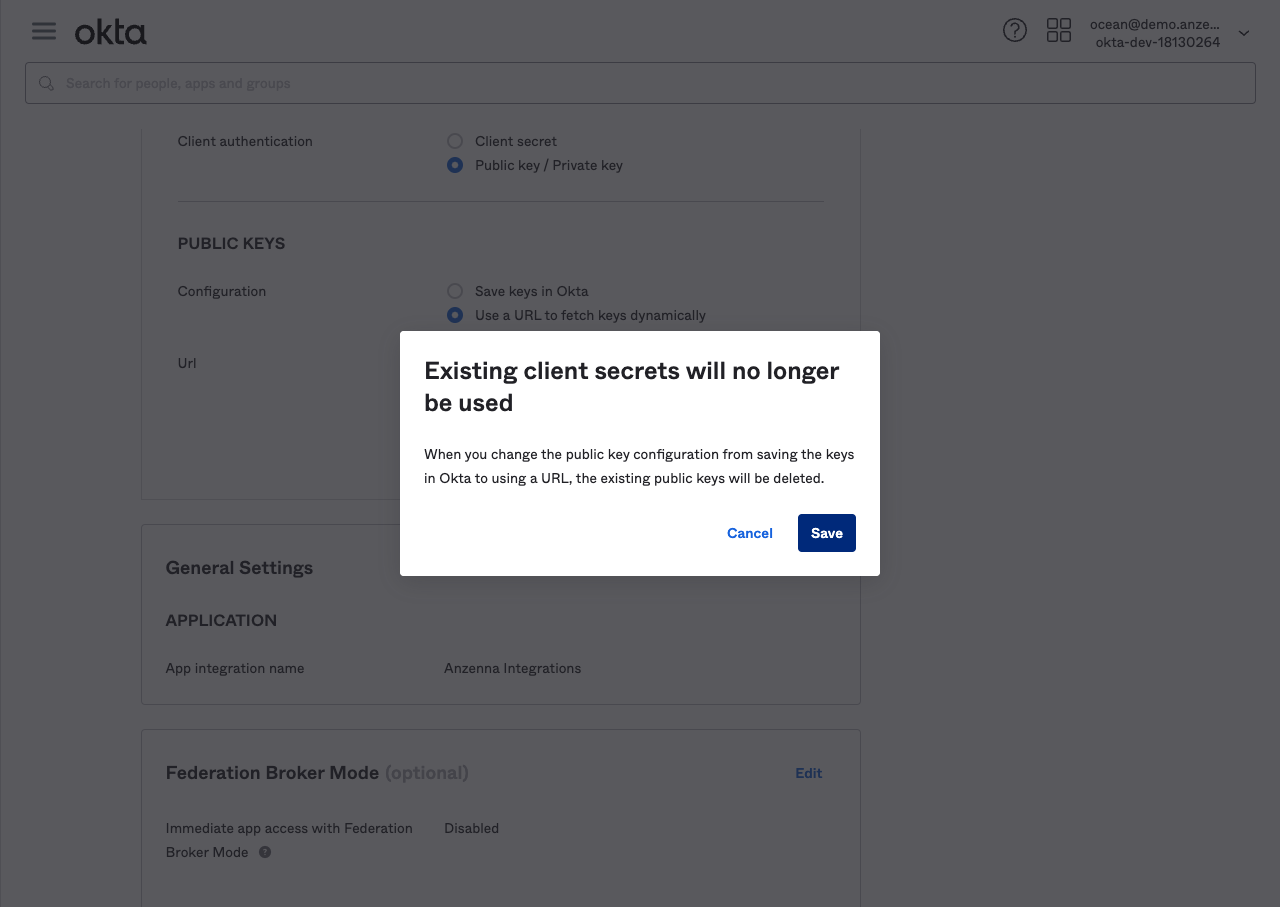
Select Public Key / Private Key, then Use a URL to fetch keys dynamically
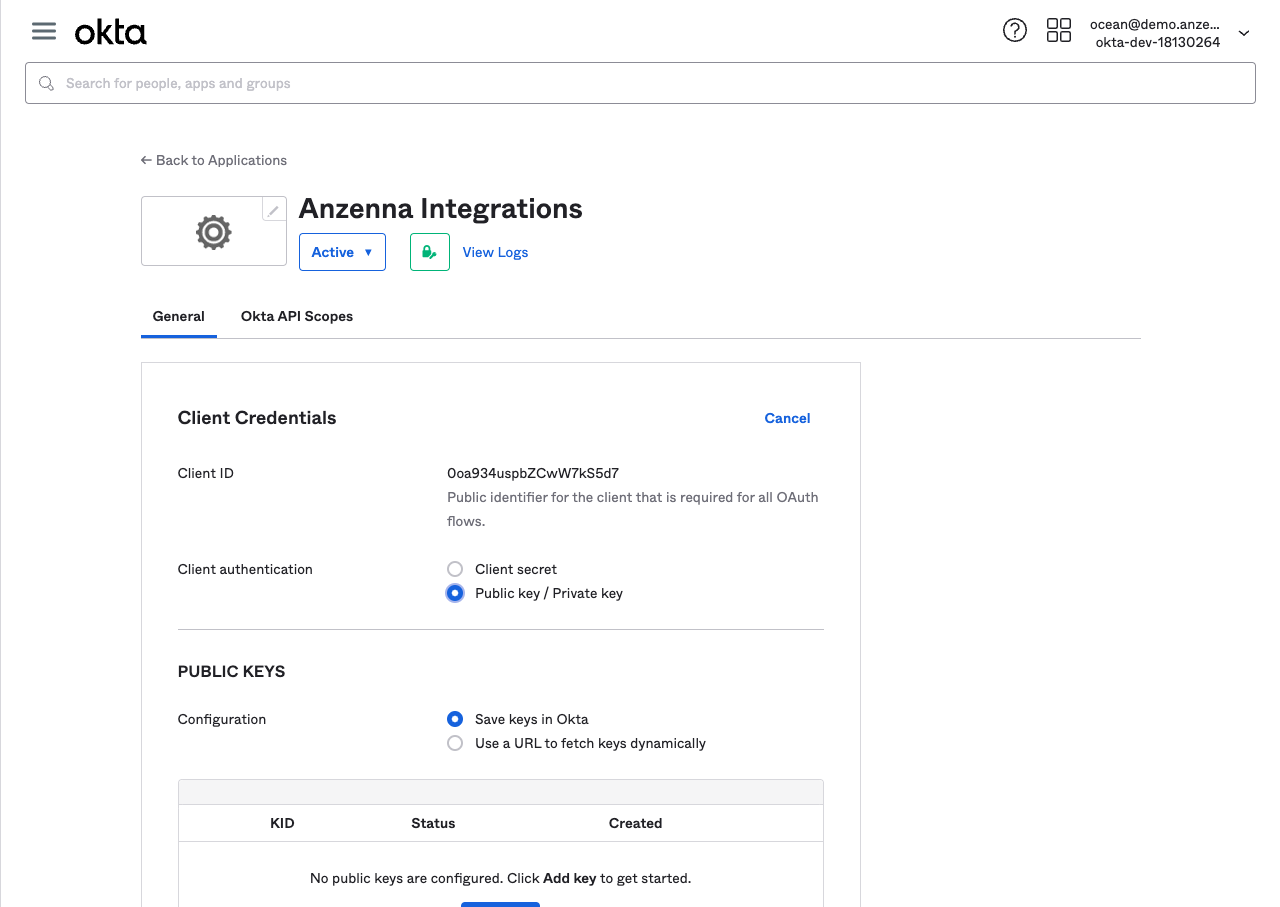
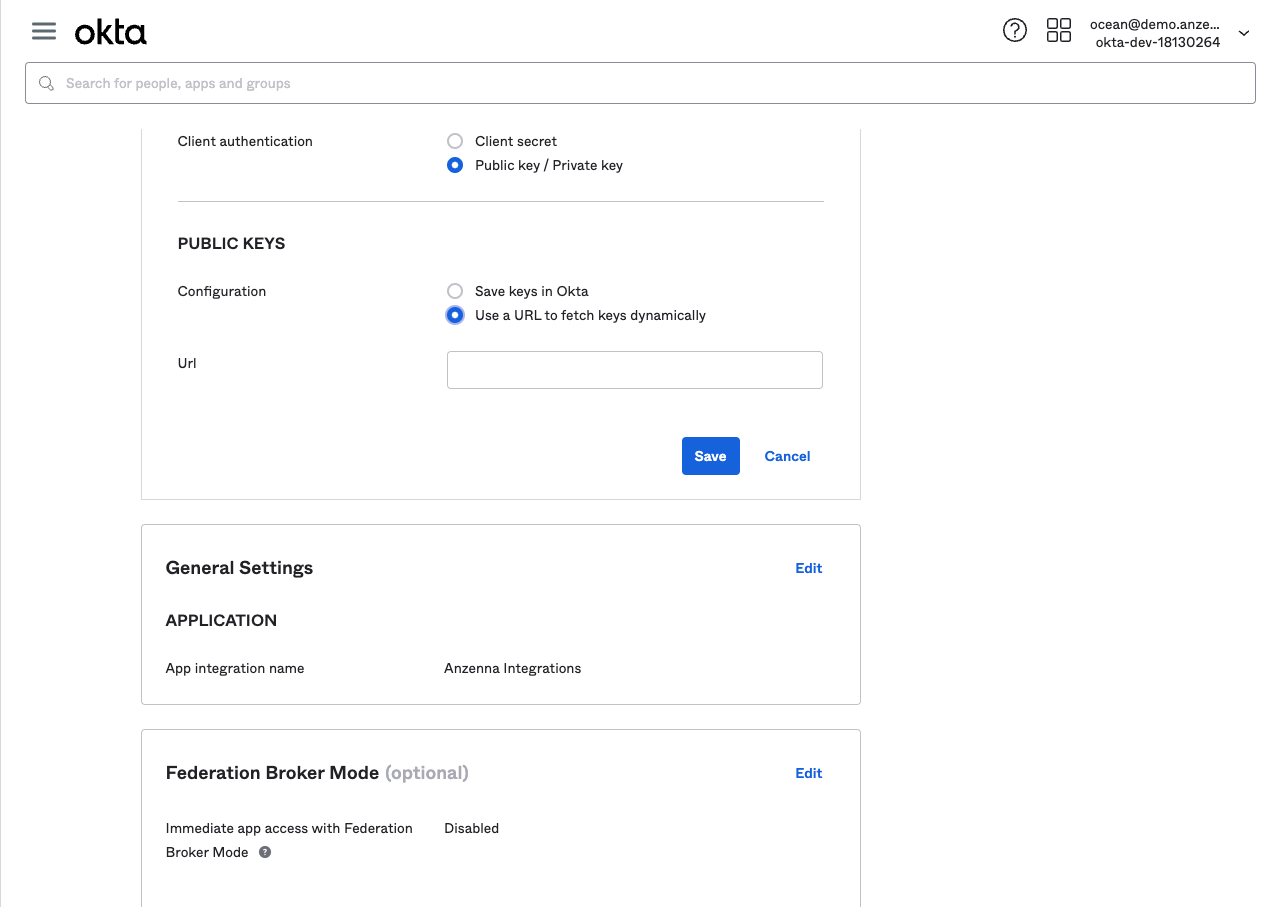
Paste the public key URL from Anzenna and click Save
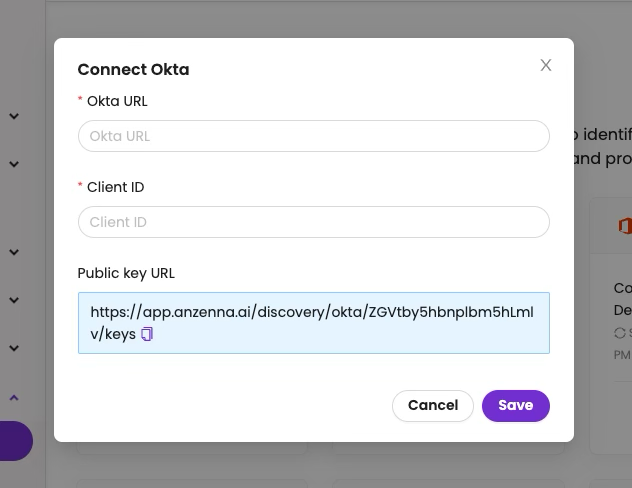
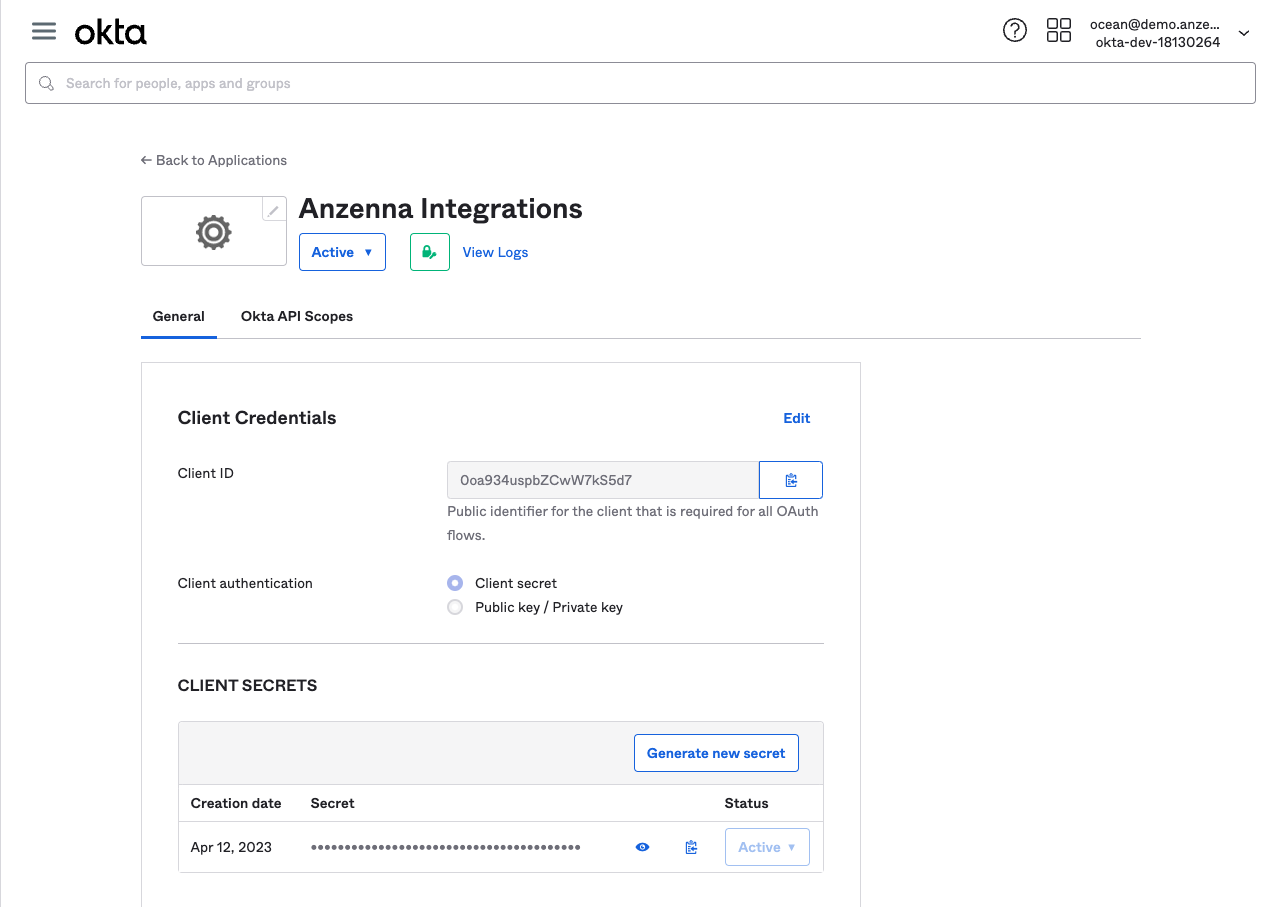
Part 6: Complete Connection in Anzenna
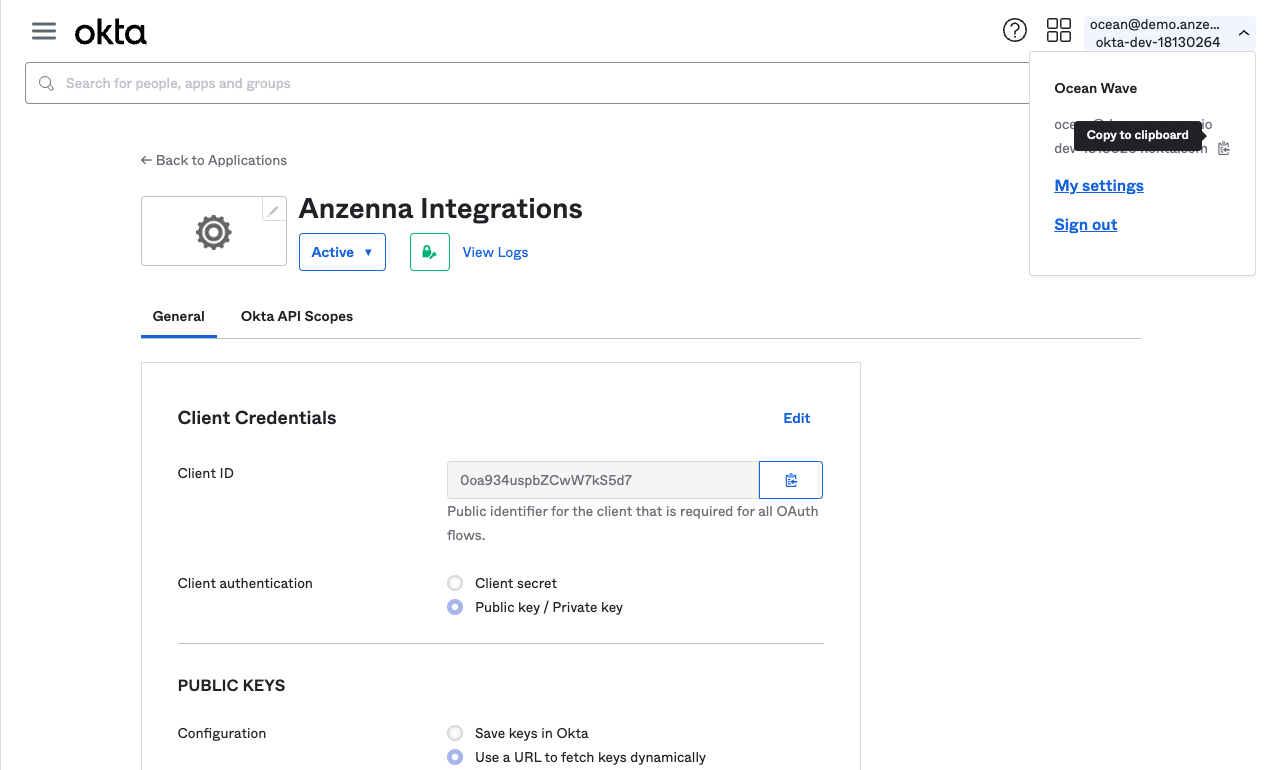
Copy the Client ID from Okta
- Return to Anzenna and paste the Client ID
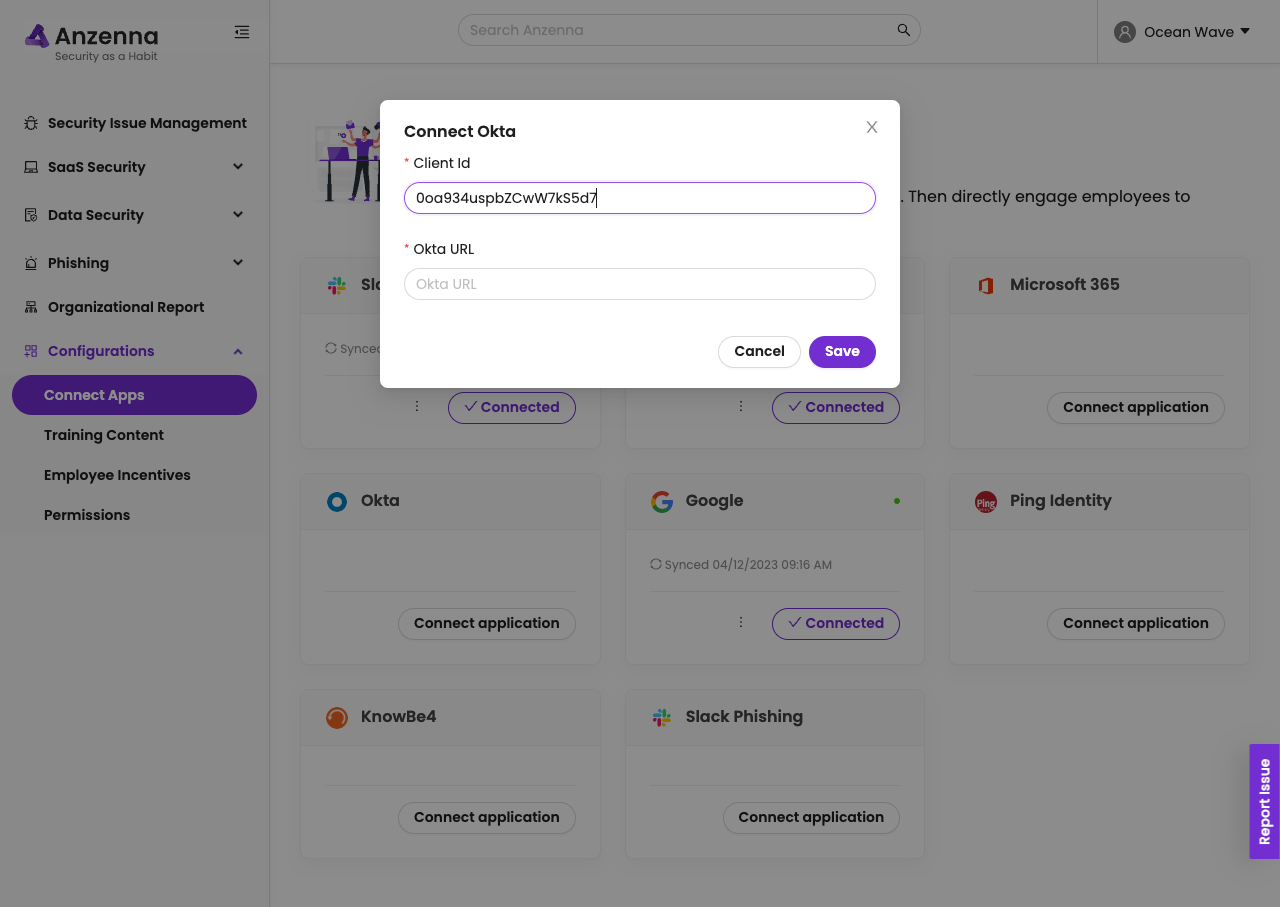
Copy the Okta URL from your Okta admin console
Paste the Okta URL into Anzenna and click Save

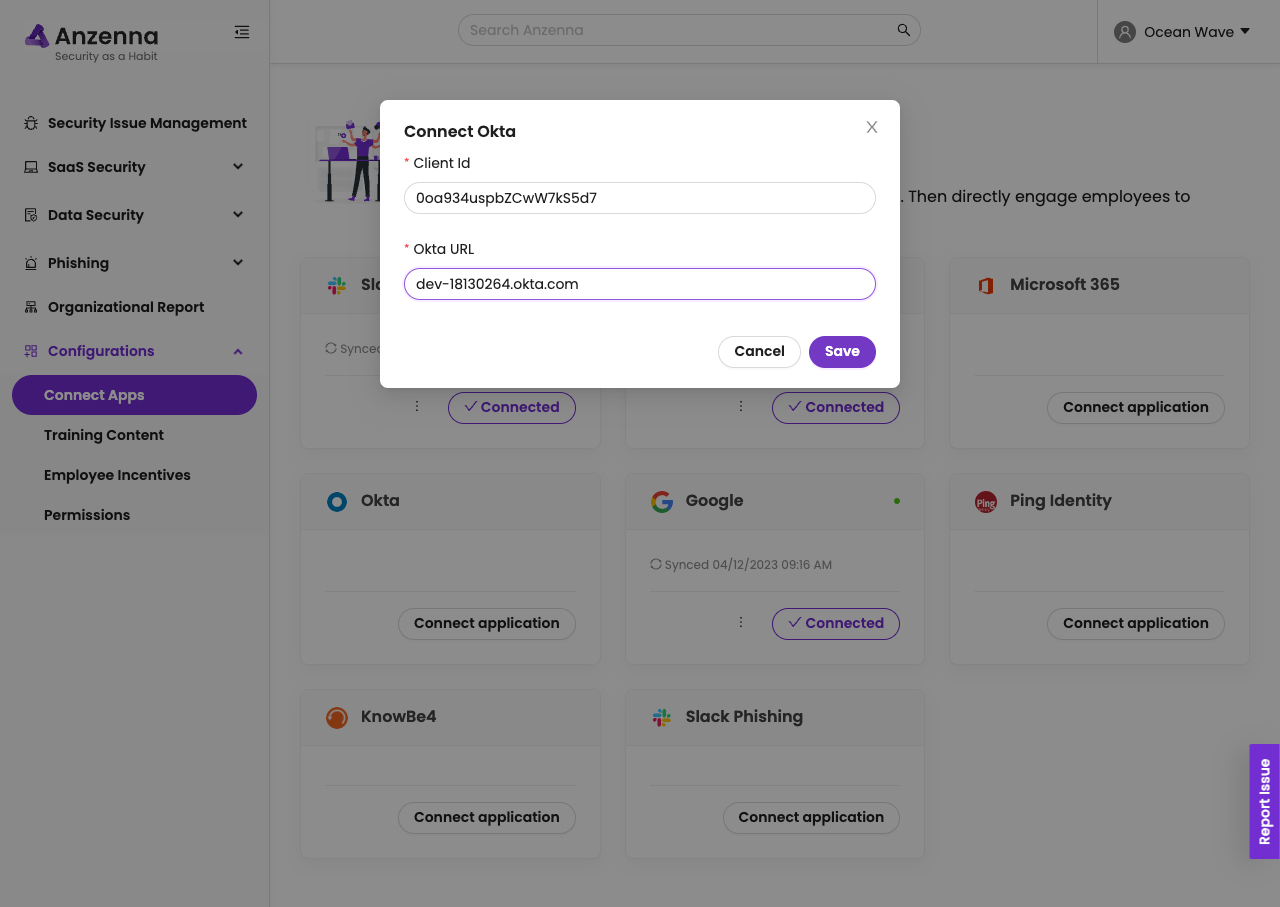
Wait a few seconds — the connection indicator will turn green when successful
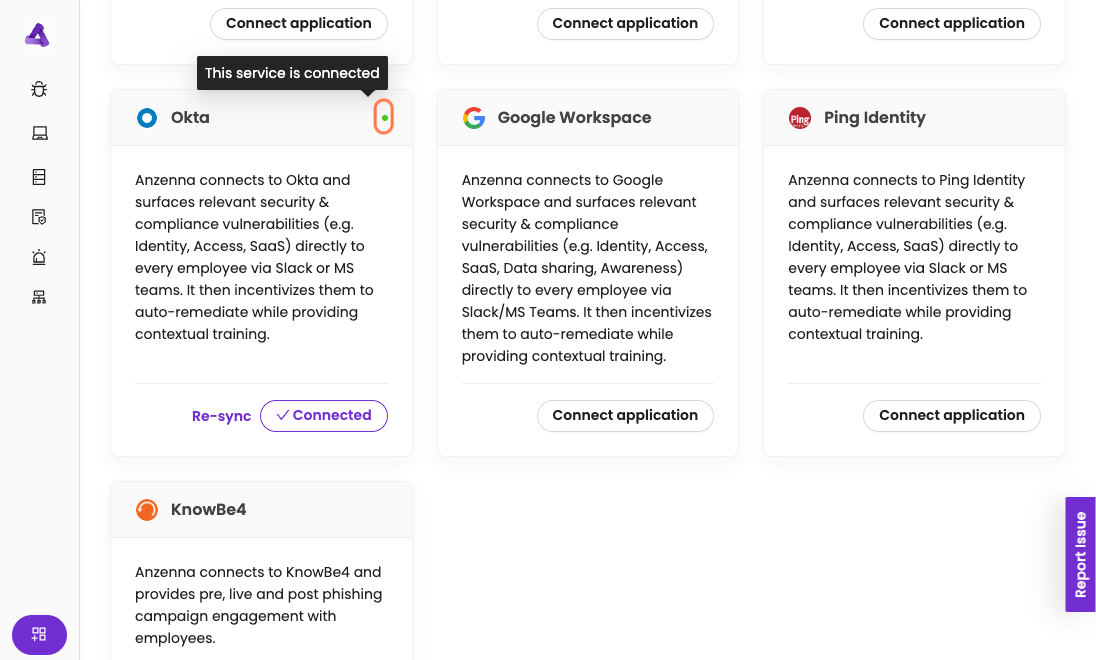
Anzenna is now connected to Okta and will begin monitoring your users, groups, devices, and applications.